Pre Check-In
Pre Check-In allows users to check in family members in a simple two-step, no-contact process. This feature requires Using Check-In.
Accessing Pre Check-In
This option will show in the custom mobile app under your Profile page. Before you arrive at church, you can access Pre Check-In and see today’s available meeting times for your classes or events.
Using Pre Check-In
Select what you plan to attend by tapping the check mark by your name or family member’s names and available event, which will turn the check mark green putting you in a pending status.
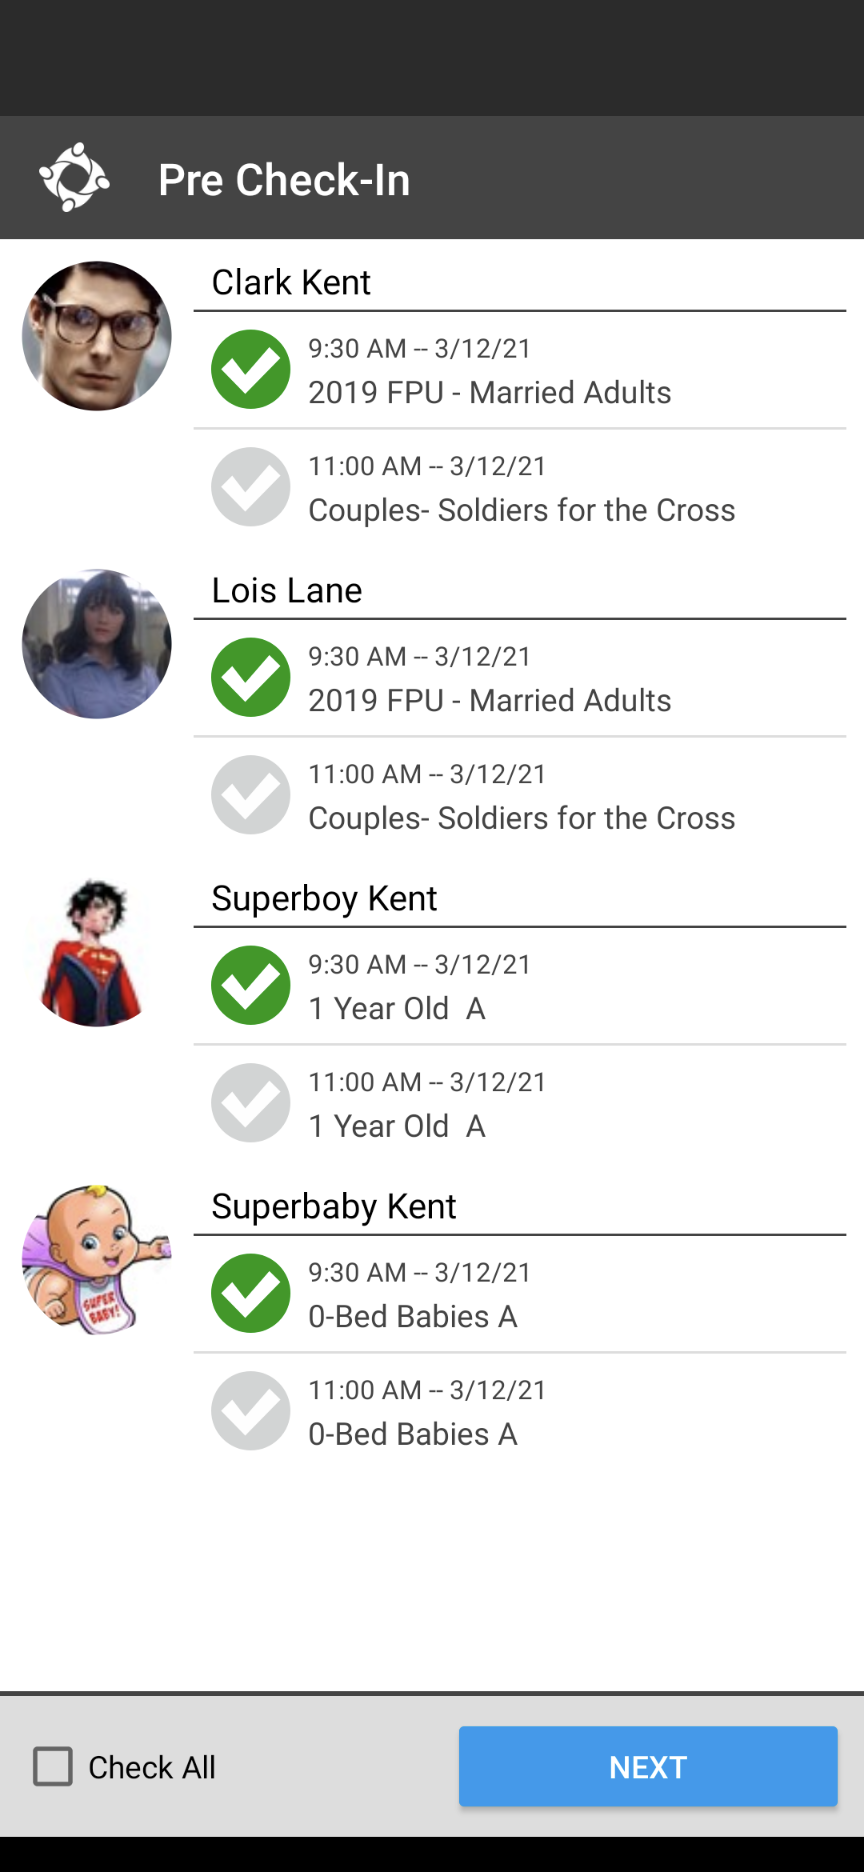
Note
Tap the Check All option in the bottom left corner of the screen if you prefer to check in everyone in your family to all available meetings.
Tap the Next button in the lower right corner, which will take you to the QR code screen.
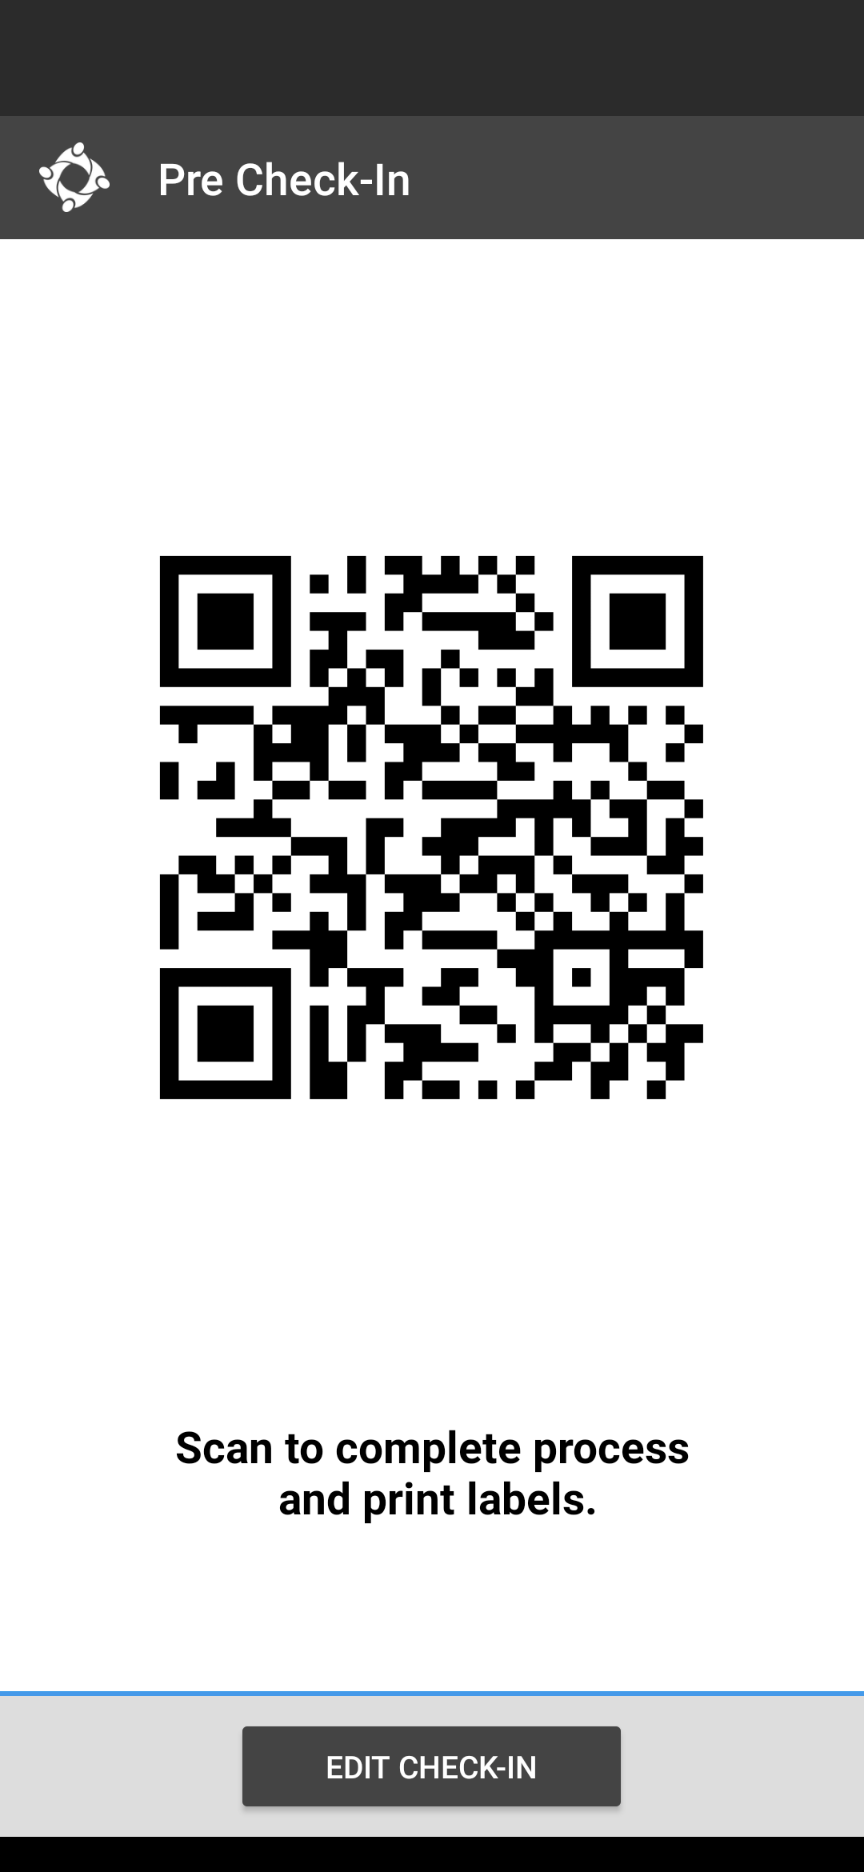
Scan the QR code at a check-in station to complete the check-in and print any necessary labels.
Note
When you scan the QR code, the kiosk summary page on the check-in station will inform you if it is too early or too late for you to check into any specific meeting.
Additional Details
If you do not scan the QR code and exit the app, you will be directed straight to your QR code once you re-open the app and select Pre Check-In.
After completing your check-in, the check marks on the Pre Check-In screen will turn from green to blue indicating that the person is already checked in.
On the QR code screen, tap the Edit Check-In button to make changes or add individuals to be checked in.
App Portal managers have the option to create a tile for Pre Check-In. This is easily done by creating a new tile and selecting the Type as Checkin.
Important
If you are testing Pre Check-In at your church, you will need to make sure meetings are available for today since Pre Check-In only works today. You will not be able to test a future date.
QR Code Scanner
You can purchase a QR code scanner or use the built-in camera on an iPad, Android, or Windows tablet. If you choose to purchase a scanner, it is recommended that you get one that has Auto Continuous Scan and that comes with a stand so you will be able to handle this process without contact. We have tested this Tera QR Code scanner internally and it works great. However, any USB QR code scanner should work fine. If you choose to use a webcam for scanning the QR code, please see our blog post explaining how to use this feature.
Latest Update |
3/8/2022 |
Cleanup