Email Templates

What Are Templates?

Templates

Templates are a means for a church to brand its emails by including items such as your church’s name, address, phone number, website URL, and a logo. We also encourage you to always include the {unsubscribe} link in the templates themselves, so each emailer does not have to remember to include it. You may also want to include the {track} and {tracklinks} codes directly in the templates.

Each ministry or special event can have it own template, especially if each has its own logo.

Email templates can be created or modified only by the system Admin or a user with EmailTemplates role. This person should have a working knowledge of HTML. While templates can be created only by certain users, the purpose is for every user that sends emails to have access to the templates he needs.

Visibility of Templates

Unless you assign a specific role to a template, they are available to all users except My Data users. See below regarding roles for templates.

See also

Tracking Emails

Each database will have some templates to provide a starting point for creating your own templates.

Suggestion

Instead of modifying these templates, clone the template to create a new copy and modify the copy. See the section below on Copying Templates.

Warning

Emails and email templates can easily become too large to send if you copy content from Microsoft Word into your email, since your email can become bloated with hidden code.

Copying Templates

To copy a template, open the template (by clicking on its name). Below the body of the template, click on the Clone button, change the template name if desired (by default it will be named with the orginal template name followed by ” Copy”) and save the new copy by clicking the Save Template button.

Starter Templates

These are the templates that are included in every database.

Empty Template

This does not contain anything. You may choose to modify a copy of this one by inserting a footer with your church’s basic information and an {unsubscribe} link. That will insure that every email that is sent by your users contains that information.
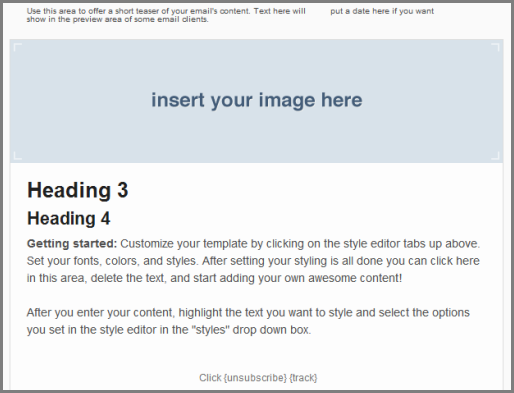
Basic Template

Below is the basic template.

Notice that this has the reason the person is receiving the email, the unsubscribe link (we recommend including that in all emails to more than just a few people) and the track code in addition to the church information. Remember that the track code only works when there is an image.

Also, you see the Template is assigned a Name, but you could also assign a Title (Subject).

The default Role is Everyone. Obviously, for your church’s basic template, you certainly want everyone to be able to use it.
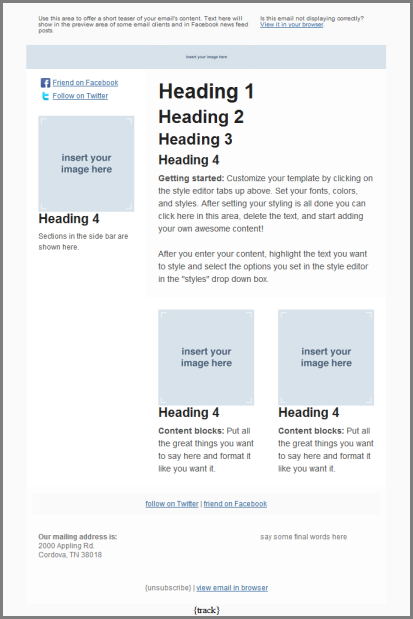
https://i.tpsdb.com/BasicTemplate.png

Basic Template

Basic Newsletter Template

This is designed for you to use for your church’s newsletters. This one is formatted like a newsletter, with columns and placeholders for images. You can insert your logo and save the template for use with all of the newsletters that are sent for your church through TouchPoint. Or, you may want to save several newsletter templates - one for each ministry.

Here is the starter newsletter template.
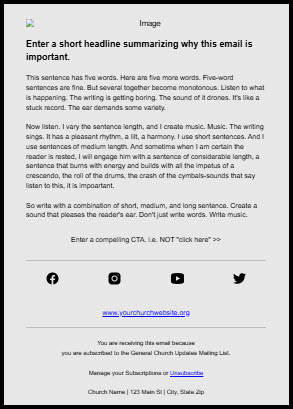
https://i.tpsdb.com/NewsletterTemplate.png

Newsletter Template

Technical Knowledge about Templates

The person creating your templates should be familiar with HTML and CSS Styles. It is beyond the scope of our job to teach you how to do this, but there are tons of free materials online. Plus you can examine our templates to get some idea of how it is done.

Actually, email templates can be harder than a basic web page, because you have to consider how your recipients are going to be viewing the newsletter. Many will be using Outlook which is not a browser, but it does a fairly good job of displaying a Web page type of email, if you stick to the basics and use tables to lay things out.

Caution

You cannot reference external style sheets in your templates.

Notes on Templates Created with the Original Editor

We currently offer two email editors. One editor is accessed by clicking Use Mobile Responsive when creating a template. If that setting is not clicked, the template is created using the other editor, which is referred to below as the original editor. The editor used for an individual email is determined by which editor was used to create the template used for that email.

Basically, the magic for TouchPoint’s email templates created with the original editor is a div tag with the bvedit attribute. That allows the division/section to be editable so users can insert their own content. If you enter the exact text Click here to edit content in the editable body of the email of your template, when the sender clicks inside the body, that text will disappear, leaving a blank slate for him to enter his content.

Getting Started

Go to Administration > Communications > Email Templates and select the Email Templates tab. This is where you can choose to either edit an existing template or to create a New Email Template. This is also where you can assign the user role to a template to restrict who can use it. The Saved Drafts tab is where you may access drafts that have been saved.

See also

Email Drafts

The Basic Newsletter Template has the role ScheduleEmails associated with it. That means that only a user with that role or an Admin will be able to use that Template, unless you remove or change the role.

https://i.tpsdb.com/Hayley-EmailTemplates.png

Creating Templates with Email Builder

Email Builder enforces a mobile-responsive design, so your emails will look great on a wide variety of devices. To use this editor for your template creation, after clicking the New Email Template button, check the box for Use Mobile Responsive WYSIWYG. Enter a name for the template and, if desired, select a role. Only users with the selected role will be able to use the template.

https://i.tpsdb.com/selectmobileresponsive.png

This will bring up the Email Builder editor window, where you can begin creating the new template. We recommend you begin laying out the basic design of the template by first dragging columns onto the work area. You can specify the number of columns for each row. Once you have the basic layout, drag the element that you want in each panel: text, image, button, or HTML. Below is the editor when it first comes up:

https://i.tpsdb.com/initialeditor.jpg

At any time during template creation, you can preview how it will look on either a desktop or on a mobile device, using the buttons on the bottom, left corner. (This button cluster also includes Undo and Redo buttons.) Below is an example image of a mobile device preview.

https://i.tpsdb.com/mobilepreview.jpg

Warning

Please be aware that the Cancel button in the bottom, right of the editor window is not intended for leaving Preview mode. If you click Cancel you will lose your recent work on the template. Instead, to leave Preview mode and continue your work, click the x in the upper, right corner of the Preview window, as indicated by the red arrow in the screenshot above.

Take note also of the two buttons in the upper, right corner of the editor. The Email Replacement Codes button will open, for your reference, a page with our help article on replacement codes. The Insert Special Link button will generate one of the special links available in TouchPoint, such as Register links, Vote links, etc. The URL for the link will be created and copied to the clipboard. You will then need to paste it into the appropriate place (e.g., a button link URL or a link created while editing text).

One utility of templates is that they ensure the proper elements are included in all emails sent by your staff and lay leaders. So don’t forget to include a footer for the template with all the required components. For more on this see Email Footers.

Caution

Unlike templates created using the other editor, mobile-responsive templates created with Email Builder will not have sections protected against modifications. Your users will have access to change any and all parts of the template within their emails. With this in mind, give careful thought to who should be able to use the template you create and set the limiting role according. See the next section for more information about this.

Modifying the Supplied Example Template

On your database has been placed a sample mobile-responsive template named “Example Template”, which you can use as a model to build your own templates with the Email Builder. You can also customize and rename the Example Template to make it appropriate for your use. Below are some suggestions for the various elements of the template:

The Top Image

With the template in the editor, click in the placeholder rectangle for the image. In the right panel will be tools for uploading and configuring the image. Click on the Upload Image button to load your own logo or image. An appropriately-sized image will approximate the placeholder size: 500 x 100 pixels.

https://i.tpsdb.com/ExampleTemplateImage.png
Headline, Body, and Button

These three elements, immediately below the top image should likely be modified for each individual email, so you either leave them as they are or provide your own instructions within these elements.

Social Media Icons

If your church has Facebook, Instagram, Youtube, or Twitter accounts, you can configure the images in this section as links to your social media accounts. For each icon, click on the image. Then, in the right panel, find the Action section and enter the appropriate URL in the Image Link.

https://i.tpsdb.com/ExampleTemplateSocialMedia.png

Hint

A resource for finding icons like these is the website https://icons8.com/.

Church Website

To modify this with your own church website address, click on the hyperlink to bring up the text formatting menu. Then, in the menu, click on the link icon. Modify the URL, text to display, and title. Then click Ok.

https://i.tpsdb.com/ExampleTemplateWebsite.png
Footer

Modify the footer with your own information. But we encourage you to retain all three important components in the sample footer:

  • Clearly state why the recipient is receiving emails from your church

  • Provide a way for the recipient to unsubscribe easily

  • Include the physical address for your church

See also

Email Footers

Email Templates and Roles

Each template can be assign a user role. The default is Everyone, but you may want to restrict certain templates by assigning a different user role.

Existing Roles

You can use existing user roles and assign those to certain templates. For example, you want only those with Finance role to use the template you create that has a footer with links to your online giving page, so you assign the role Finance to that template. Or you may create a template for Membership, for those staff members working in that ministry to use. You can also have templates that are open to most of your staff, but not lay leaders. So you could limit the template to those with Edit role.

Create New Roles

You can create roles to use just for locking down templates if you need to restrict the template more by the ministry rather than the standard user roles.

Be sure to create the role, assign it to those who need it, and then select that role for the template.

Use Case

You create a template for your Student Ministry containing their logo, links to their website, and the ministry’s phone number. In order for this template to display for only those in Student Ministry, create a role named Student Ministry and assign that role to only those users in your Student Ministry who you need to be able to send emails using that special template. Then assign that role to the template.


Latest Update

11/9/2022

Removed Grammarly warning