
Sites Settings
These settings require an add-on service, prpl pineapple sites, which lets your church website pull information directly from your TouchPoint database. To turn on prpl pineapple sites, submit a ticket to TouchPoint support to enable it for your database.
Note
prpl pineapple sites fetches data from your database about every 15 minutes. You can also refresh it on demand, which is helpful when you are actively updating your TouchPoint database and want to see how it appears on your website without waiting up to 15 minutes for the next refresh. For instructions, visit prplpineapple.com/gethelp.
Note
These settings apply to standard implementations of prpl pineapple website integrations and plugins for Duda and WordPress. For more robust integrations, prpl pineapple can go beyond the standard Sites APIs and build a solution on TouchPoint’s REST API: https://api.tpsdb.com/api/swagger/ui. For support, visit prplpineapple.com/gethelp.
To manage Sites Settings on your database, navigate to Admin > Communication > Sites > Settings. Once TouchPoint and prpl pineapple confirm your service is active, any user with the Admin or AppAdmin role can manage these Sites Settings.
You’ll first need to set the following value on Admin > Communication > Sites > Settings > Security.
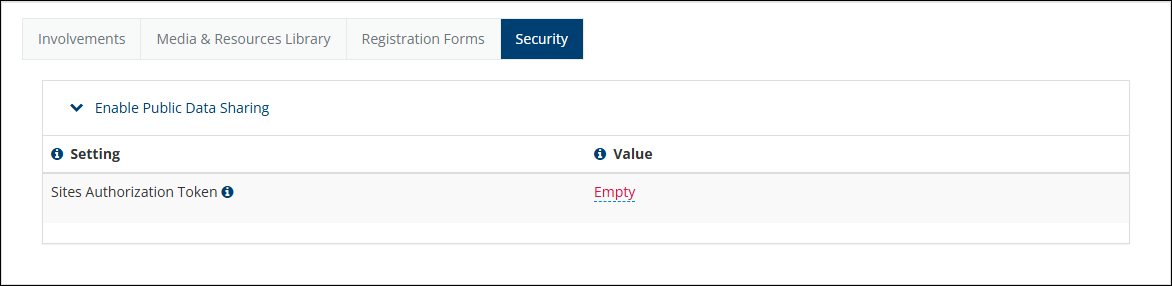
The Security tab of Sites Settings
Sites Authorization Token - This should be a random set of characters at least 28 characters long. You’ll need this value to connect your website to TouchPoint. In WordPress, paste it into each plugin’s TouchPoint Key field, for example Settings > Events by Solertiae > Data Source > TouchPoint Key.
Note
Read more and sign up at https://prplpineapple.com/website-as-a-service/.
Enabling & Configuring Settings for Involvements
No data is shared by default. On Admin > Communication > Sites > Settings > Involvements > Enable Public Data Sharing, turn on each type of information you want to make available to your website, such as Events, Small Group Finder, and Volunteer Opportunities.
To choose which Involvements are returned as Small Groups, set either a Division or an Involvement Type on Admin > Communication > Sites > Settings > Involvements > Small Group Filters. If you set both, an Involvement that matches either one is returned.
Only active Involvements are shared, and an Involvement is returned as an Event or a Small Group only when Show in Sites is checked on its Registration > Mobile / Sites tab. In addition:
Events - The Involvement must have at least one future meeting date.
Small Groups - The Involvement must match your Small Group Filters. Unless you map Day and Time to Extra Values (see below), the meeting day and time come from the Involvement’s Schedule, so make sure each small group has a Schedule.
Volunteer Opportunities - Every active Involvement that uses the Volunteer Scheduler registration type is returned.
If you use standard fields on the Involvement to store your information, you are all set. However, if you need more flexibility, you can map any Involvement Extra Value to override the standard fields on Admin > Communication > Sites > Settings > Involvements > Custom Field Mapping.
Enabling & Configuring Settings for Media & Resources
No data is shared by default. On Admin > Communication > Sites > Settings > Media & Resources Library > Enable Public Data Sharing, turn on Media Library, Sermons, or both.
To choose which Resources are treated as Sermons, select a Resource Tab in Resource Tab For Sermons on Admin > Communication > Sites > Settings > Media & Resources Library > Settings. Resources on that tab are shared as Sermons, and all other shared Resources are shared in the Media Library.
On the same page, you can also set a custom icon for each media type: PDF Icon, Audio Icon, Weblink Icon, and Freeform Icon.
A Resource is shared with your website while it is scheduled to display and is either visible to everyone or limited only by Campus. Resources limited to specific Involvements, Involvement Types, Member Types, or Status Flags are not shared. Media and Resources follow the same refresh schedule as the rest of your data.
Important
Only a Resource’s Start Date is sent to your website, not its Date. Fill in both fields on every Resource.
Caution
Setting a Campus on a Resource limits who can see it in TouchPoint, including in the mobile app, to people in that Campus. If you want a Resource to stay visible to everyone, leave Campus blank and add Campus: Name; to the Resource Description instead. Coordinate mobile app changes with your TouchPoint support resource.
Tip
prpl pineapple’s plugins read extra details from the Resource Description. Enter each one as Label: value; with a blank line between values (for example, Passage, Summary, Audio, and Notes), and use the same labels on every Resource.
Note
Video thumbnails will be pulled as configured on Vimeo, YouTube, or the Live Stream service.
Latest Update |
11/09/2026 |
Renamed the add-on service to prpl pineapple sites, corrected the data refresh timing, and documented how Involvements and Resources are selected for your website.