
Personal Access Tokens
TouchPoint’s Rest API supports the use of Personal Access Tokens (PAT) for authentication. This allows you to generate a token that can be used to authenticate with the API (or with MCP-based tools) without needing to provide or store a username and password in the calling system. It also allows you to invalidate tokens at any time should the need arise.
Personal Access Tokens can be created and revoked from within TouchPoint itself, which is the easiest way to manage your own tokens. They can also be managed through the Rest API, which is useful if you need to automate token creation as part of a larger integration.
Managing Personal Access Tokens in TouchPoint
You can view, create, and revoke your own Personal Access Tokens from the Manage Personal Access Tokens page. To get there, click your name in the top bar and choose Manage Personal Access Tokens from the dropdown menu.
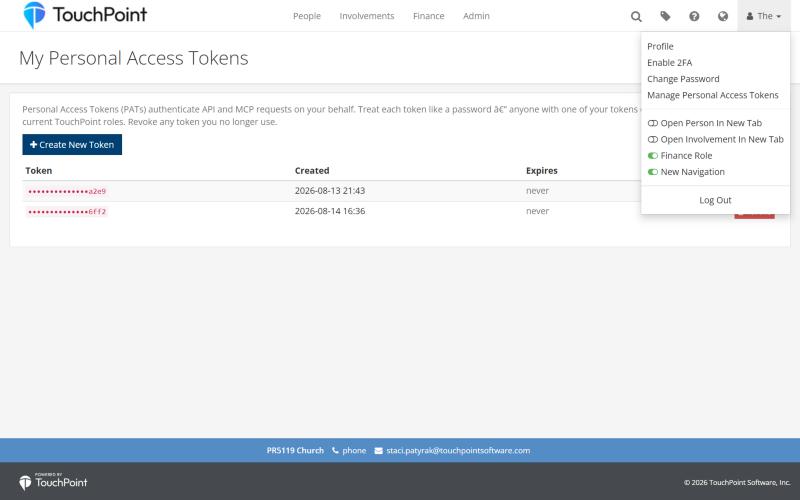
The profile dropdown in the top bar, showing the Manage Personal Access Tokens link.
This page lists all of the Personal Access Tokens you have created, showing the last few characters of each token, when it was created, and when (if ever) it expires.
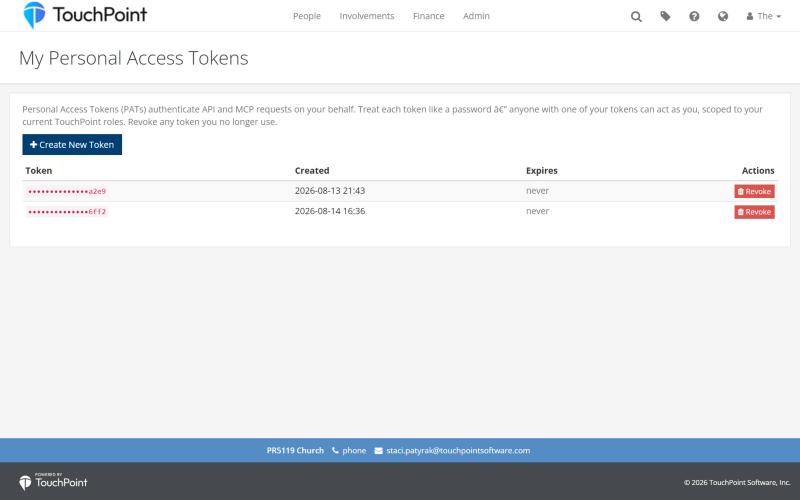
The Manage Personal Access Tokens page, listing existing tokens.
Important
Treat a Personal Access Token like a password. Anyone who has one of your tokens can act as you via the API, scoped to your current TouchPoint roles.
Creating a Token
Click Create New Token to open the creation dialog. You may optionally set an expiration date to limit how long the token will remain valid; if you leave this blank, the token will never expire on its own.
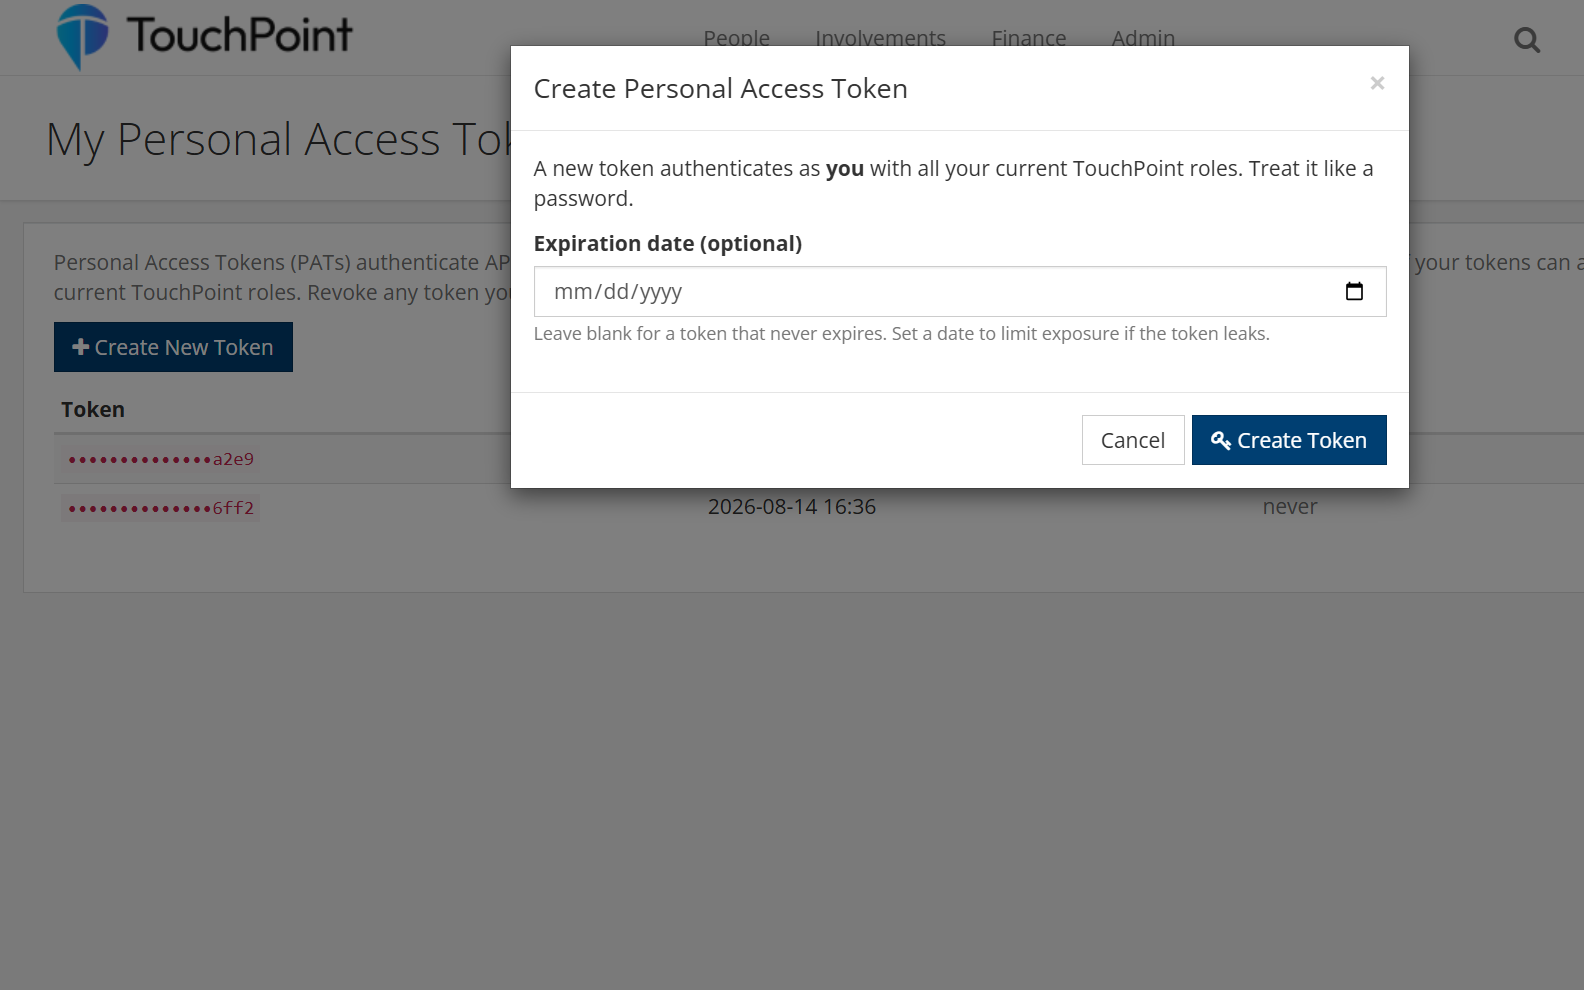
The Create Personal Access Token dialog, with an optional expiration date.
Once you click Create Token, the full token value is displayed. Copy it now and store it somewhere secure — for security reasons, the full value is only ever shown at the moment of creation, and cannot be recovered afterward. If you lose it, you will need to revoke it and create a new one.
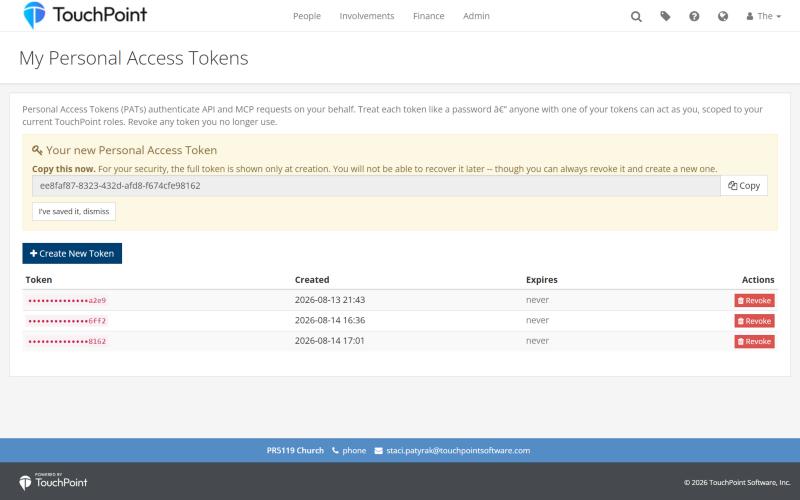
The newly created token, shown in full with a Copy button.
Once you have copied the token, click I’ve saved it, dismiss to close the banner.
Revoking a Token
To invalidate a token you no longer need, click Revoke in the Actions column for that token, then confirm the action.
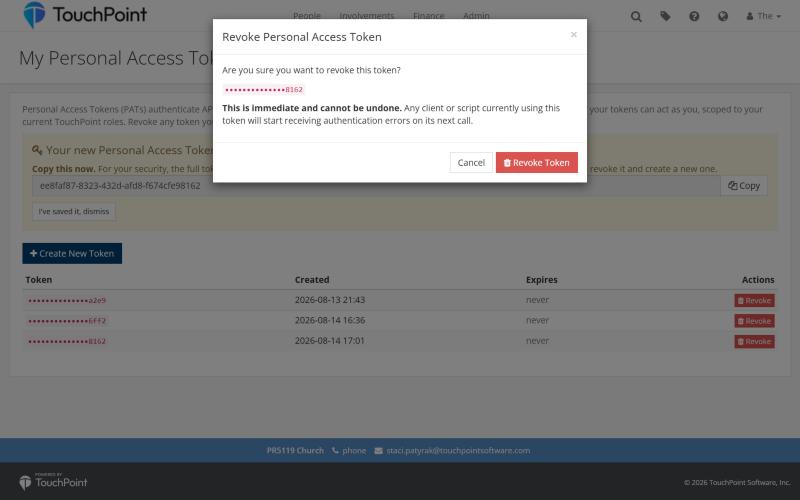
Confirming that a Personal Access Token should be revoked.
Important
Revoking a token is immediate and cannot be undone. Any client or script currently using that token will begin receiving authentication errors on its next call.
Managing Personal Access Tokens via the API
The management of PATs can also be done through the Rest API itself; the initial authentication to generate the PAT supports all standard TouchPoint authentication methods; however, Basic authentication is the easiest and will be utilized in the examples below.
Creating a Personal Access Token
To create a Personal Access Token, you will need to create a POST request to the api/v1/Account/CreateUserAccessToken endpoint:
curl --request POST \
--url http://mychurch.tpsdb.com/api/v1/Account/CreateUserAccessToken \
--header 'Authorization: Basic dXNlcjpwYXNzd29yZA==' \
--header 'Content-Type: text/plain' \
The response will be in the form:
{
        "personalAccessToken": "37402a24-c96e-4575-b063-fb41fbb28651",
        "expirationDate": null
}
You may optionally include an expiration date in the request body to set an expiration date for the token. The date should be sent as the plain-content text of the POST:
curl --request POST \
--url https://mychurch.tpsdb.com/api/v1/Account/CreateUserAccessToken \
--header 'Authorization: Basic dXNlcjpwYXNzd29yZA==' \
--header 'Content-Type: text/plain' \
--data 2024-11-10T03:00:00Z
Deleting/Invalidating a Personal Access Token
To delete or invalidate a Personal Access Token, you will need to create a POST request to the /api/v1/Account/DeleteUserAccessToken endpoint, providing the token to delete as the plain-text content of the request:
curl --request POST \
--url https://mychurch.tpsdb.com/api/v1/Account/DeleteUserAccessToken \
--header 'Authorization: Basic dXNlcjpwYXNzd29yZA==' \
--header 'Content-Type: text/plain' \
--data 37402a24-c96e-4575-b063-fb41fbb28651
Impersonating Another User with Personal Access Tokens
Users with the Admin role can impersonate another user in the API, similar to the Impersonate feature on the web. This impersonation is only available via Personal Access Token (PAT) authentication.
To impersonate another user, add the following header to your API request:
x-on-behalf-of: {{person id to impersonate}}
For example:
curl --request GET \
--url https://mychurch.tpsdb.com/api/v1/Account/RedirectWithCredentials/?destination=www.google.com \
--header 'Authorization: PAT 37402a24-c96e-4575-b063-fb41fbb28651' \
--header 'x-on-behalf-of: 12345'
This will execute the API request as if it were made by the person with ID 12345. If the user has multiple User accounts for the given PeopleId, then the first one (by ID) will be used.
Important
The Personal Access Token must belong to a user with Admin rights
To impersonate a user with the Finance role, the PAT owner must also have the Finance role
This feature allows for programmatic impersonation in API workflows while maintaining proper security controls