Sermon Notes
The Sermon Notes feature allows a church to organize sermons into series and enables users to take personal notes on those sermons. Administrators can manage sermon series and individual sermons, while end users can create and manage their personal notes associated with specific sermons they’ve listened to or attended, allowing them to capture key points, insights, and reflections.
Setup & Configuration
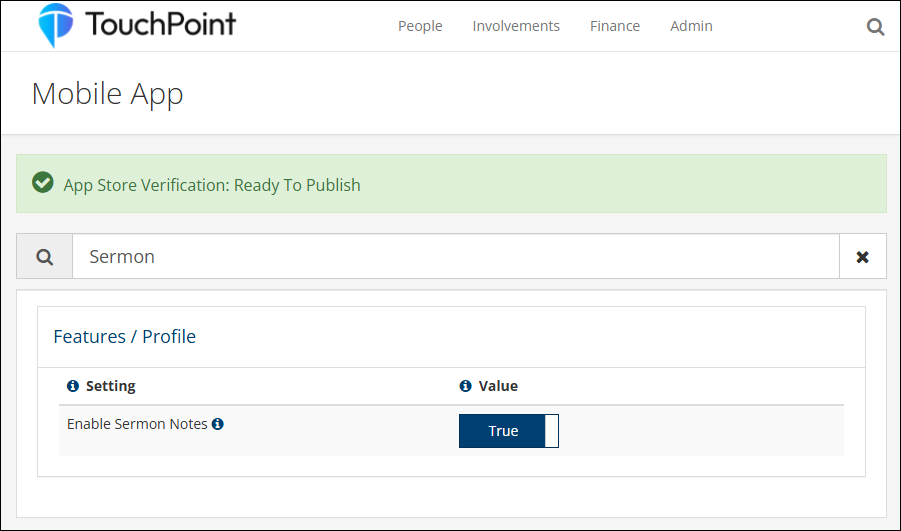
To access the Sermon Notes management interface, a user must have the Admin or ManageResources role and the Enable Sermon Notes setting (Admin > Communication > Mobile App > Settings > Features > Profile) must be set to True.
Once those conditions are satisfied, follow these steps to manage sermon series and sermons:
Navigate to Admin > Communication > Communication > Sermon Notes.
Note
The Sermon Notes menu item will only appear if all of the above conditions are met.
The interface displays the following tabs:
Series
Sermons
Viewing Series Information
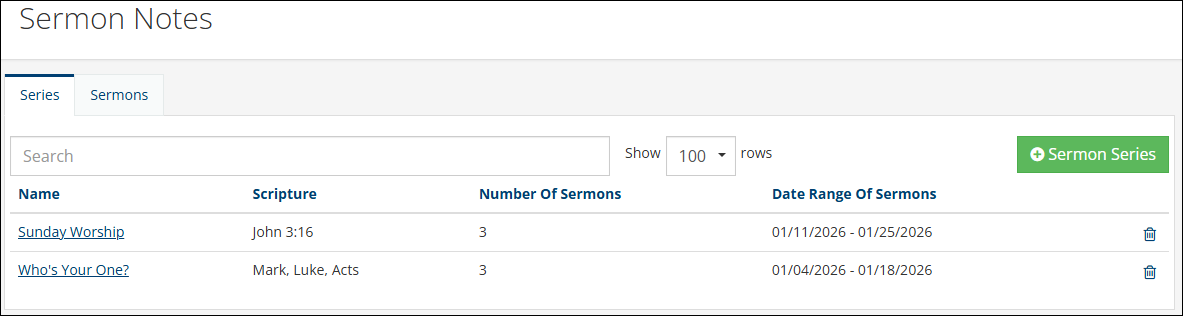
The Series tab displays the following information:
Search Field - Search sermon series by name
Name - The name of the sermon series
Scripture - Scripture reference
Number of Sermons - Count of sermons in the series
Date Range of Sermons - First and last sermon dates
Creating a Sermon Series
Click the Series tab.
Click the green + Sermon Series button.
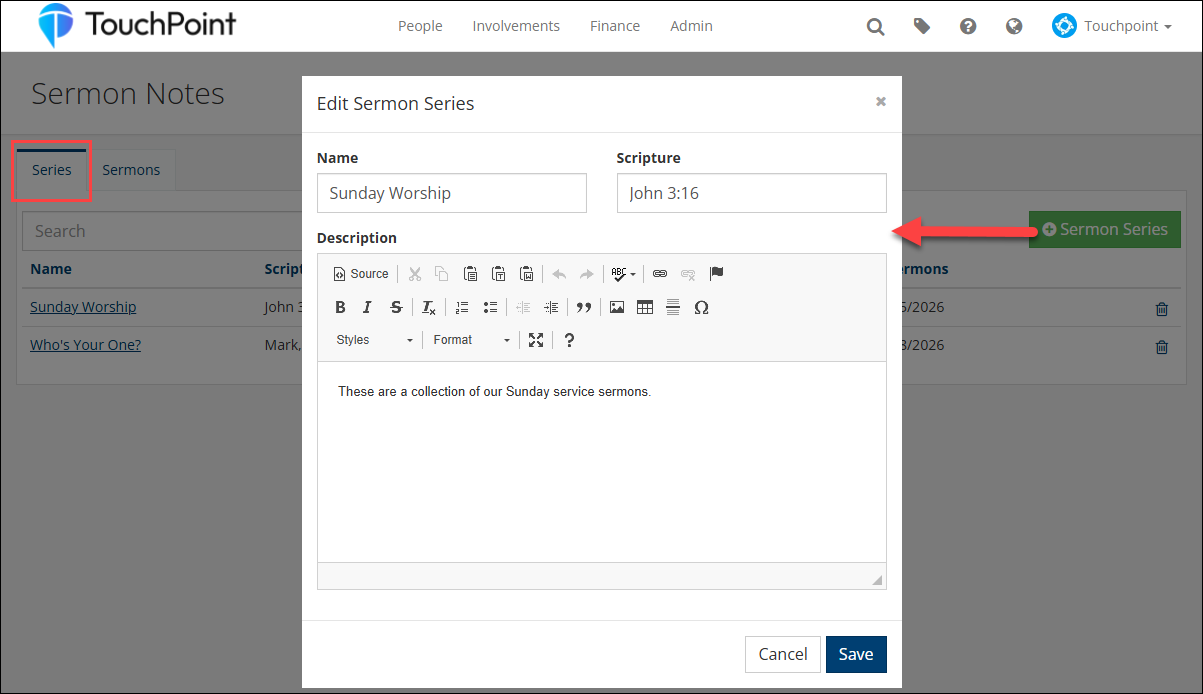
Enter the following information:
Name (required, max 100 characters)
Scripture (optional, max 100 characters)
Description (optional)
Click the blue Save button.
Editing a Sermon Series
On the Series tab, click on the series name you want to edit.
Update the desired fields.
Click the blue Save button.
Deleting a Sermon Series
Click the trash icon on the row of the series you want to delete.
Click the yellow Yes, delete it! button to confirm or No to cancel.
Note
All sermons associated with a series must be deleted first in order to delete a sermon series.
Viewing Sermon Information
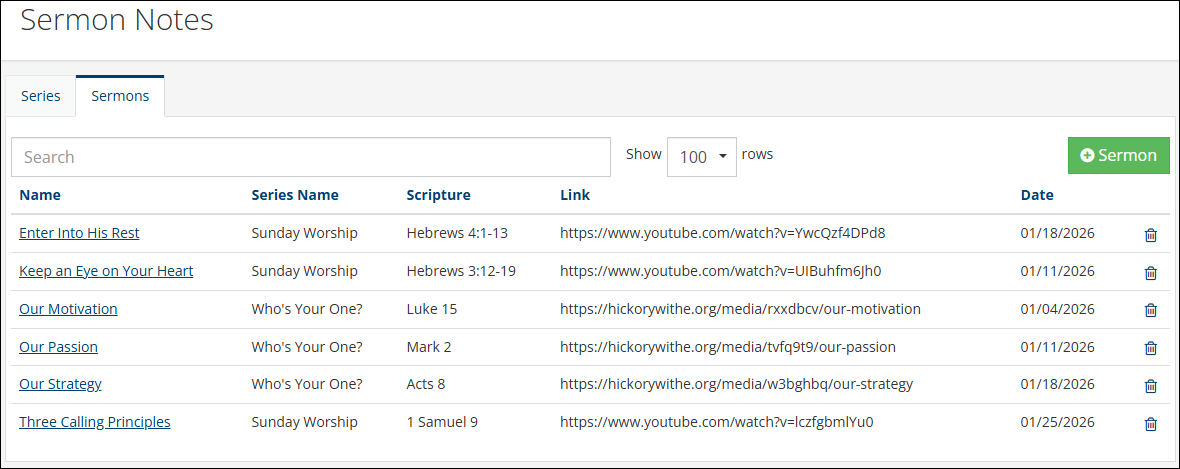
The Sermons tab displays the following information:
Search Field - Search sermons by name
Name - The name of the sermon
Series Name - The series this sermon belongs to
Scripture - Scripture reference
Link - Resource link URL
Date - Sermon date
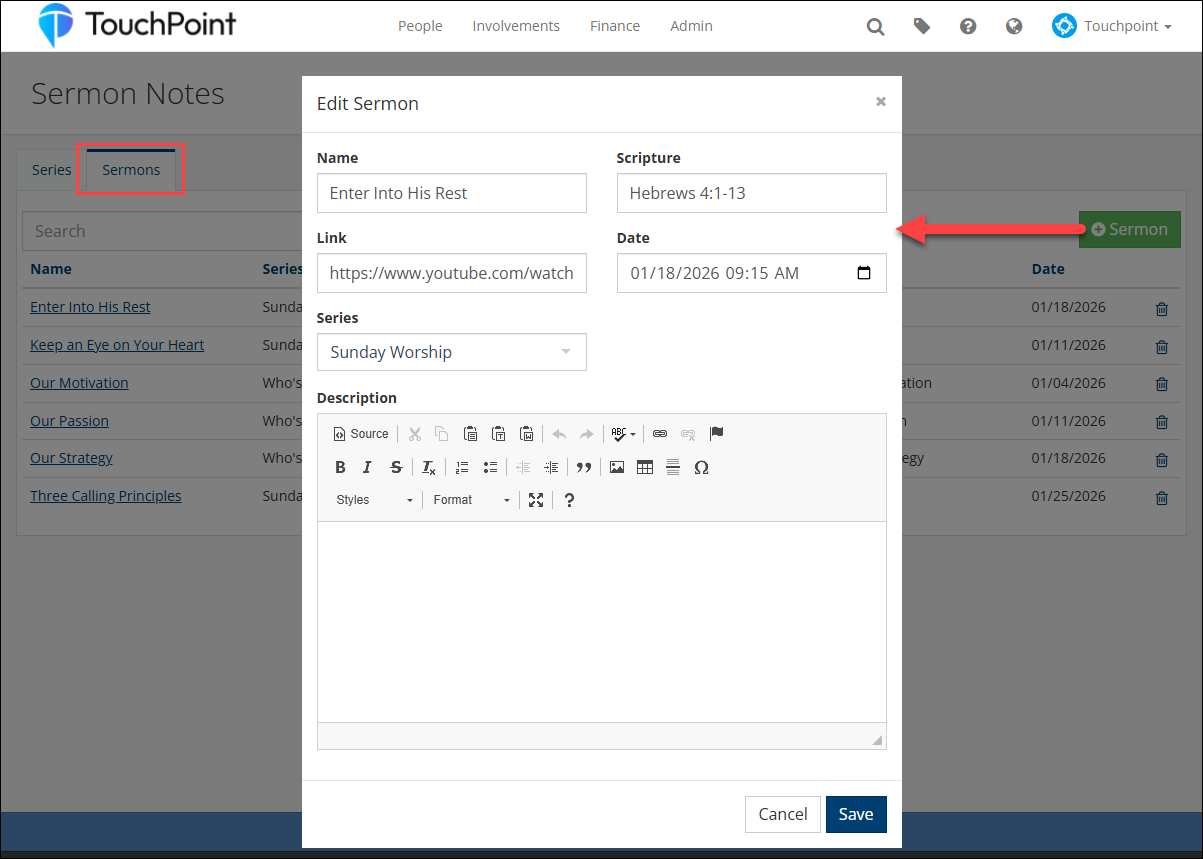
Creating a Sermon
Click the Sermons tab.
Click the green + Sermon button.
Enter the following information:
Name (required, max 100 characters)
Scripture (optional, max 100 characters)
Link (optional, max 250 characters) - URL to additional sermon information (e.g. audio, video, PDF, website)
Date (required) - Date and time of the sermon
Series (required) - Select from dropdown
Description (optional)
Click the blue Save button.
Editing a Sermon
On the Sermons tab, click on the sermon name you want to edit.
Update the desired fields.
Click the blue Save button.
Deleting a Sermon
Click the trash icon on the row of the sermon you want to delete.
Click the yellow Yes, delete it! button to confirm or No to cancel.
Note
Sermons with associated user notes cannot be deleted.
Best Practices
Organize sermons into series - This makes it easier for users to find related sermons
Use consistent naming conventions - For example, “Sermon Series Name - Part 1”
Include scripture references - This helps users find sermons by biblical reference
Add resource links - Link to additional sermon-related information when available
Use descriptions - Provide context or key points in the description field
Keep series names concise - Make them easy to identify and search