eSPACE Integration
You can link TouchPoint Involvements to eSPACE events so that future event dates/times will sync to TouchPoint, creating future meetings for the Involvements. To enable this integration, follow the steps below:
Step 1 - Create a User Account with eSPACE
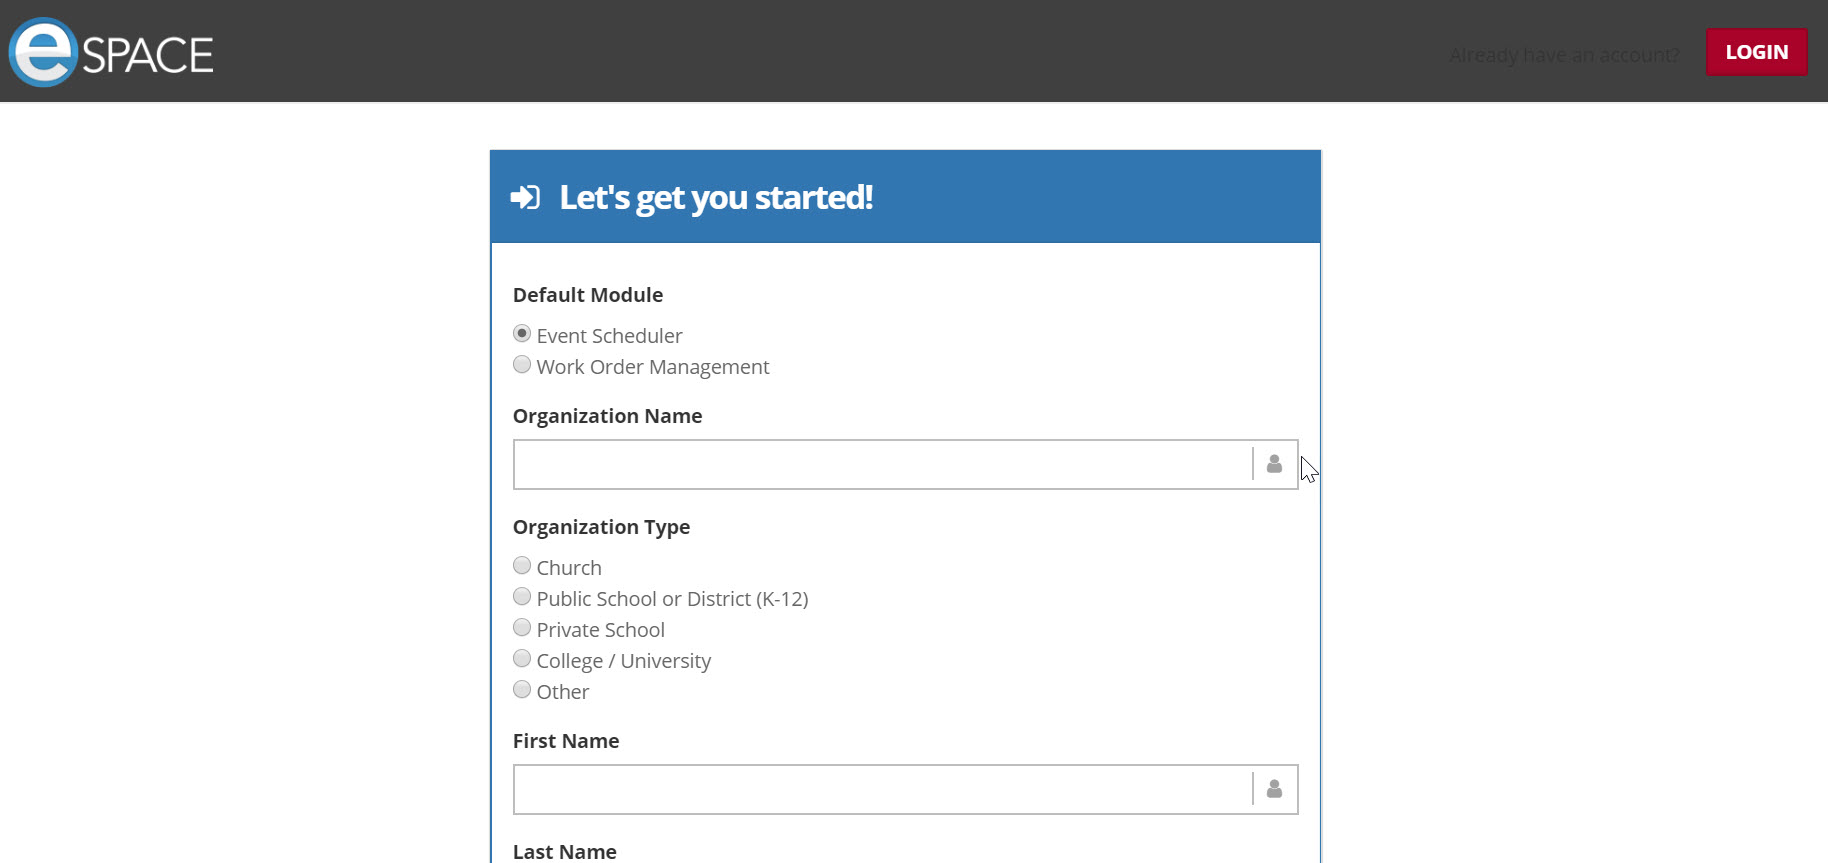
If you do not already have an account with eSPACE, create one for your church on the eSPACE website. Click here to go to the eSPACE website. Once you have an account, you will enter the username and password in TouchPoint settings.
Step 2 - Generate an API key in eSPACE
In eSpace, an Admin will need to generate an API key.
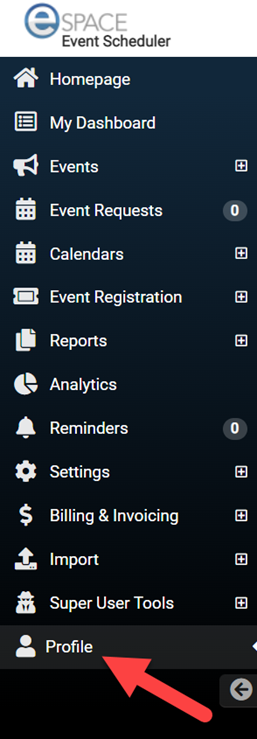
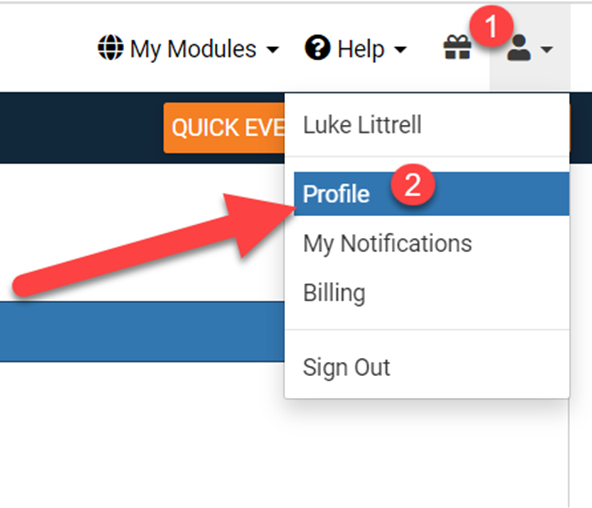
Navigate to your “Profile” by going to the left side navigation bar or by going to the top right of your dashboard and selecting Profile from the person icon drop-down menu.
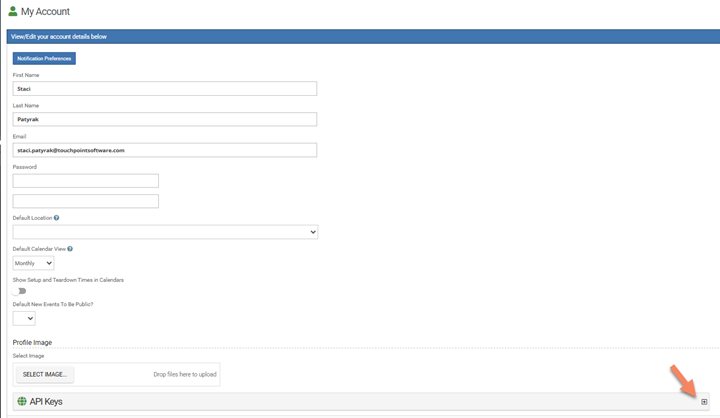
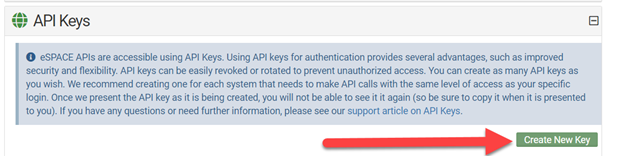
Then, scroll to the bottom and expand API Keys.
Once you have read the information on API Keys, click the green Create New Key button.
After clicking Create Key Key, do the following:
Copy the new key and keep it somewhere secure.
Enter a Description (i.e. a name for the key you will understand, like “TouchPoint”).
Click the blue Save button.

Important
REMEMBER, you can no longer see the full key after you save, so be sure to copy it first!
Step 2 - Enable the Integration on TouchPoint
To enable the integration, you will need to configure a few administration settings on your TouchPoint database. All these settings can be found on the Integrations tab, in the eSPACE section.
Enter the eSPACE API key in the eSpace API Key setting.
Enter your eSPACE user name in the eSPACE User Name setting.
Enter your eSPACE password in the eSPACE Password setting.
Toggle the eSPACE Enabled setting to True.
Toggle the eSPACE Enable FullSync setting to True.
Enter the Division ID in the Set Division ID setting. This Division will be assigned to all Involvements created from the eSPACE sync.
Optionally, set the eSPACE Days To Sync setting. This determines the number of days into the future to search for events in eSPACE to sync to meetings in TouchPoint. If you leave this setting blank, it will default to 60 days.
Important
The eSPACE credentials you enter in the eSPACE User Name and eSPACE Password settings should be for an account with admin rights. These credentials are used to access eSPACE to retrieve a list of upcoming events, so the account information you use in these settings must be for an account that has access to all the events you plan to link to TouchPoint Involvements. TouchPoint users who link Involvements to eSPACE events will not necessarily need an eSPACE account since the credentials stored in the settings provide the access to the list of upcoming eSPACE events.
If the Enable FullSync setting (Admin > Advanced > Settings > Integrations > eSPACE) is set to True and the Set Division ID field is populated, the nightly sync will create Involvements for any occurrences of eSPACE events that are in a category of Sync-to-TouchPoint and where the eSPACEID (chosen in the Involvement > Settings > General > eSpace Event field) does not exist on any Involvement in TouchPoint. (Note that you will need to create this category in eSpace and assign desired events to it.) If the occurrence is marked isFinalApproved=TRUE in eSPACE, the Involvement will be marked as Approved in eSpace in Registrations/Mobile/Sites. Lastly, eSpace Categories will sync to Registrations/Mobile/Sites so long as the category names in eSPACE and TouchPoint match.
Step 3 - Link TouchPoint Involvements to eSPACE Events
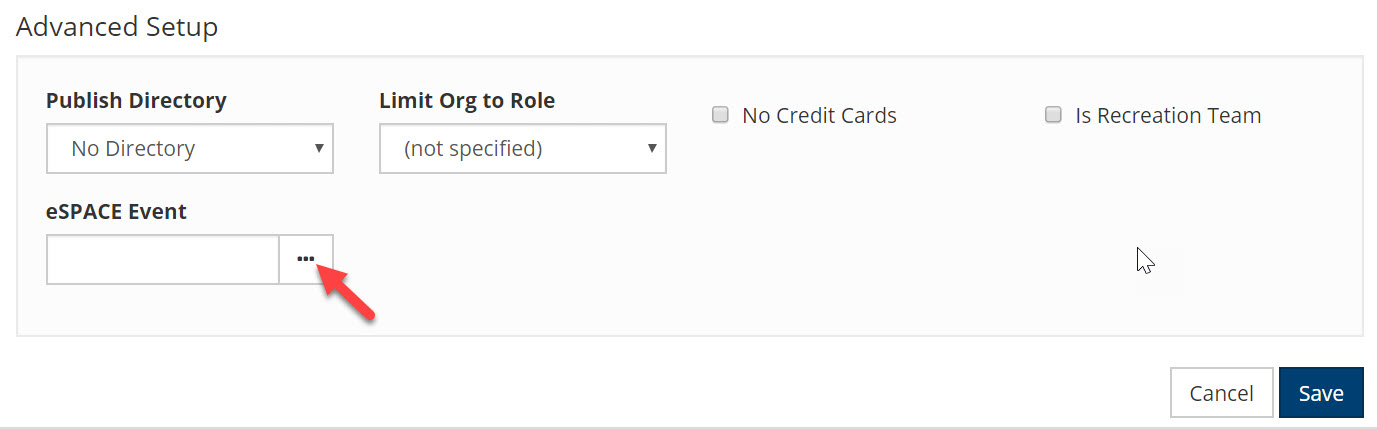
To sync meetings from eSPACE events to a TouchPoint Involvement, create a link between the two. This is done on the Involvement’s eSPACE Event field in the Advanced Setup section on the Settings > General tab. To select the eSPACE event to link to, click the horizontal ellipsis (the three horizontal dots) and select from the list of available eSPACE events. An Involvement can only be linked to one eSPACE event. Once linked, future meetings from the eSPACE event will sync to the Involvement.
Should you ever need to remove the link, simply click on the red x on the right hand side of the eSPACE Event field.
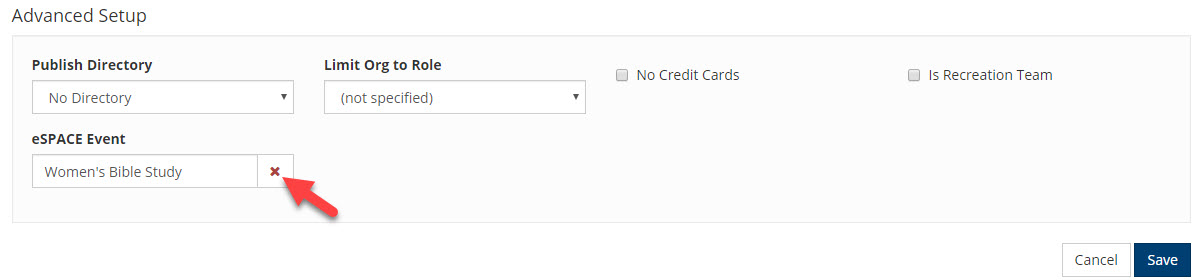
When an eSPACE event has been linked to an Involvement, the event name displayed in the eSPACE Event field in the Advanced Setup section on the Settings > General tab will be a link to the event. Clicking on the link will bring up the event in eSPACE. The user who clicked on the link will need to log into eSPACE (if they have not already) before they can view and manage the event.
Additionally, future meetings that have been created by the linking of the eSPACE event to the Involvement will contain an eSPACE_ID extra value that will also serve as a click-able link to take the user to the eSPACE event.
If you need to update the meetings on an Involvement, go to the Meetings tab and click on the Import From eSPACE button. Future meetings within the timeframe defined by the eSPACEDaysToSync setting will be imported to the Involvement. If event dates/times or locations have changed since the previous import, the changes will be made to the meetings on the Involvement.
Latest Update |
3/10/2025 |
Update for eSpace API v2