Pushpay Integration
Our integration with Pushpay provides an automatic nightly upload of PushPay transactions. If you do not already have an account with Pushpay, you will need to establish one with them. Learn more here.
Setup for the Pushpay Integration
Setting up the integration is a very simple process.
- Step 1
Select Finance > Setup > Pushpay. Someone with the Admin role will need to do this step.
- Step 2
In the login screen that comes up, log in to Pushpay with your Pushpay administrator credentials.
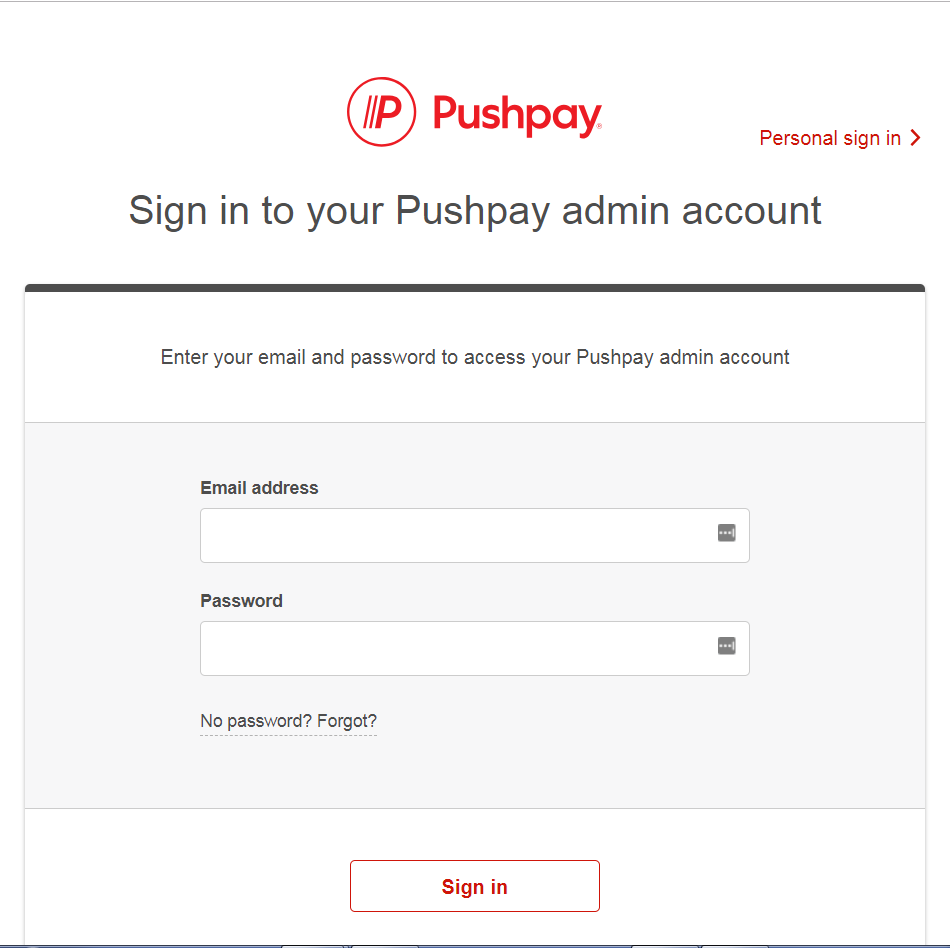
Pushpay Login Screen
- Step 3
Authorize TouchPoint to access Pushpay on your behalf. Simply press the Authorize button. If successful, you will be returned to your TouchPoint database and shown a success message.
- Step 4
Toggle the setting named PushPayEnableImport to
True. This setting is found on the Integrations tab, in the Pushpay section.See also
That’s it. Your Pushpay transactions will be uploaded each night and placed into contribution bundles.
Warning
TouchPoint does not support using Pushpay as the Online Registration payment gateway.
Latest Update |
11/5/2024 |
Updated warning about online registrations