Custom Involvement Tabs
With custom Involvement tabs, you control what information is displayed on the three Involvement listings: Current, Previous, and Pending. For each of these tabs, you can control what information will display for each of your defined Involvement Types.
See also
Configure Custom Involvement Tabs
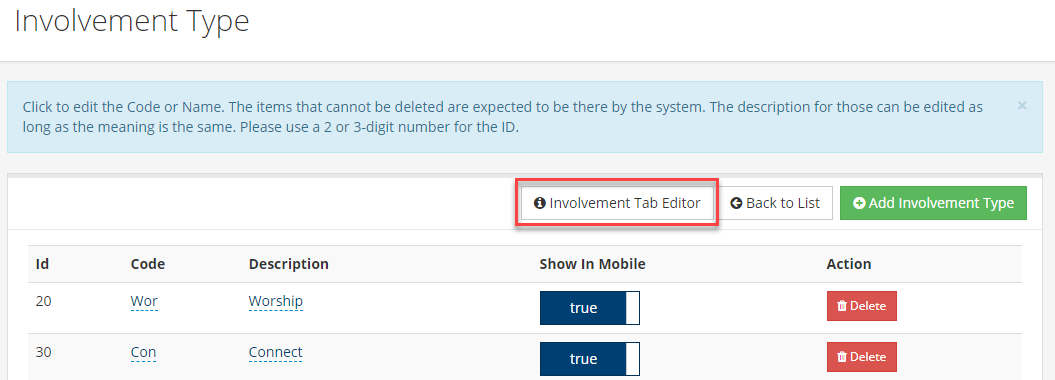
To configure custom Involvement tabs, go to Admin > Advanced > Lookup Codes and, in the Involvement panel, click on Involvement Type. Then click on the Involvement Tab Editor button.
Tip
While on the Involvement Type lookup page, you will also see Show and Attendance columns for each type. The Show column controls whether Involvements of that type appear in the Mobile App (and to MyData/OrgLeadersOnly users). The Attendance column controls whether mobile attendance can be taken for Involvements of that type. See Involvement Types for details.
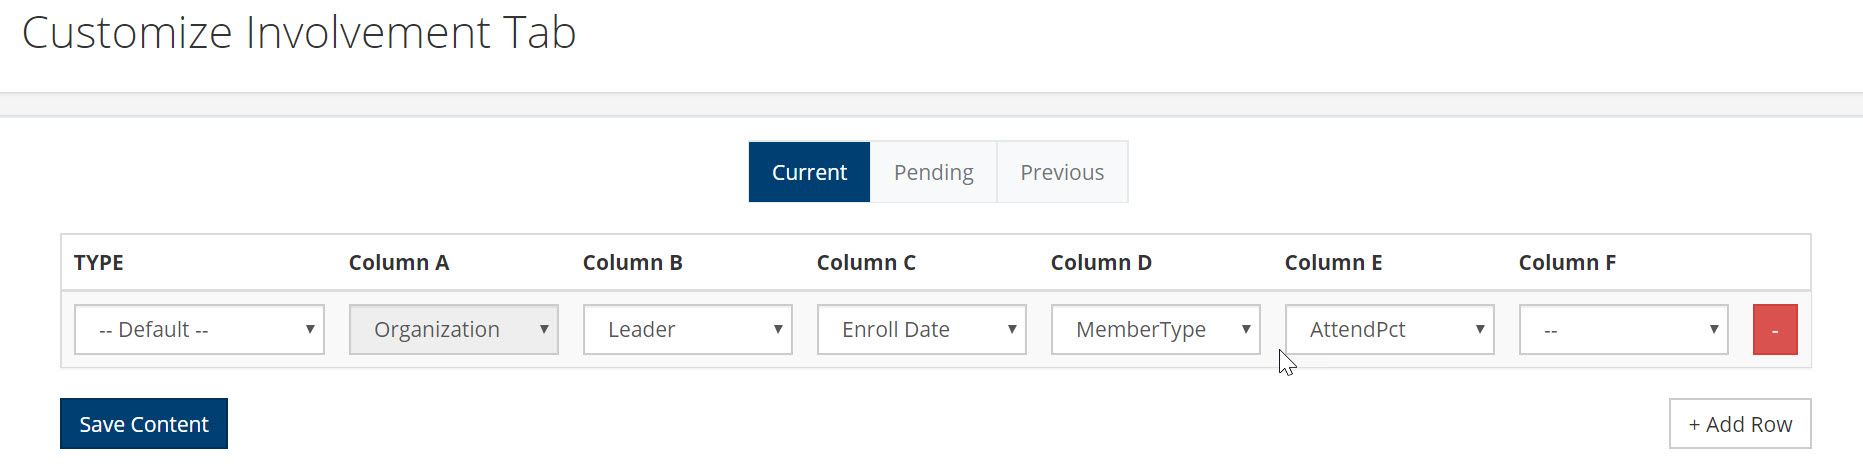
The Customize Involvement Tab page will have tabs for the three configurable Involvement tabs (Current, Pending, and Previous) and on each tab will contain a row for each of the Involvement Types that have been configured. At a minimum, there will be a row for your default configuration – the configuration that will be used for Involvement Types that do not have their own configuration defined.
Follow the steps below to modify your current Involvement tabs configuration:
- Step 1
Select which Involvement tab to modify. When you first arrive at the Custom Involvement Tab page, the Current tab is selected. To modify a different tab, click on Pending or Previous to modify one of those tabs.
- Step 2
Select which Involvement Type to configure (or Default to customize settings for all Involvement Types that are not individually configured). Make your selection from the TYPE drop down list. If you need first to add a row, click the Add Row button.
Tip
If you need to delete a row, click on the - (minus sign) in the red square.
- Step 3
Select the information to display in each of the columns. You can define data for up to six columns. Unused columns should be the right-most columns. Column A will always have the Involvement name and this cannot be changed. So for the remaining five columns, choose from the following list of options:
Leader: the name of the leader for the Involvement
Enroll Date: date the person whose profile is being viewed was enrolled in the Involvement
Member Type: the profile owner’s member type in the Involvement
Leave: this will present a button to leave the Involvement (only appears on the Current tab); especially useful for an Involvement type for newsletters
View Calendar: this will present a link to the Involvement’s registration page; especially useful for volunteer Involvement
Location: the Location for the Involvement
Schedule: the day of the week and time the Involvement meets
Drop Date: date the profile owner was dropped from the Involvement
Division: the Division the Involvement belongs to
Program: the Program the Involvement belongs to
OrgType: the Involvement Type assigned to the Involvement
Attend Pct: the profile owner’s attendance percentage in the Involvement
Last Visit: this is a specialized option for Redeemer Presbyterian, indicating when a community group last received a visit to assess the group’s health
Health: this is also a specialized option for Redeemer Presbyterian, indicating the assessed health of a community group
You can also use any Extra Value field name as a column value. The system will look up the Involvement’s extra values and display the matching data.
- Step 4
To save your changes, click the Save Content button.
Configuration Files
The Involvement tab configurations are stored in files found at Admin > Advanced > Special Content > Text Content. Below are the names of these files, followed by the default (un-customized) configuration for that tab.
InvolvementTableCurrent
<InvolvementTable>
  <Columns>
    <Column field="Organization" sortable="true" />
    <Column field="Leader" />
    <Column field="Enroll Date" sortable="true" />
    <Column field="MemberType" />
    <Column field="AttendPct" />
  </Columns>
</InvolvementTable>
InvolvementTablePending
<InvolvementTable>
  <Columns>
    <Column field="Organization" />
    <Column field="Enroll Date" />
    <Column field="MemberType" />
    <Column field="Location" />
    <Column field="Leader" />
    <Column field="Schedule" />
  </Columns>
</InvolvementTable>
InvolvementTablePrevious
<InvolvementTable>
  <Columns>
    <Column field="Organization" sortable="true" />
    <Column field="Enroll Date" sortable="true" />
    <Column field="Drop Date" sortable="true" />
    <Column field="MemberType" />
    <Column field="AttendPct" />
  </Columns>
</InvolvementTable>
Three of the fields can be made sortable by adding the setting sortable=”true” as shown in the XML settings above. Those three fields are Organization, Enroll Date, and Drop Date.
You can restrict a column to specific user roles by adding the setting role=”RoleName” (comma-separated for multiple roles). Users without that role will not see the column.
For any of the fields, you can change its column label by adding the setting label=”LabelName” where LabelName is replaced with the actual name you want for the label. Additionally, the label you define for the View Calendar field will also be used for the links in each individual row and the label you define for the Leave field will also be used as the button label in each individual row. For example, assuming a View Calendar column is configured for an organization type for Choose Volunteer Times registrations, you could include the setting label=”Manage Commitments” to set the label for that column as Manage Commitments and also to make the text of all the links the same (Manage Commitments).
Latest Update |
06/12/2026 |
Clarified the Show and Attendance columns