Using a Custom Login Page
You can customize the login page with your church’s branding. Setting this up involves adding a shell to HTML Content and an administration setting.
Setting Up Your Custom Login Page
- Step 1
Create the shell. Go to Admin > Advanced > Special Content > HTML Content and click the button to create a New Html File. Give it a meaningful name, such as
ShellLogin.Open the new file and click on the Source button in the Editor menu. Copy the code from one of the samples below and paste it into the file. This will get you started with a login shell. You will want to edit the file to include your own banner image and footer information and links. As you edit, you can switch back and forth between source view and standard view by clicking the Source button.
- Step 2
Enter the administration setting. Go to Admin > Advanced > Settings > General and click on the Add Setting button. Name the setting
UX-LoginPageShelland click Submit to save the setting. Then enter as its value the name of the login shell you created in Step 1.
Creating Campus-Specific Login Pages
If your church has multiple campuses, you can create a different login page for each campus. To do this, you will create one HTML Content file for each campus. You will also have one setting for each campus with the format UX-LoginPageShell-{campuscode} where {campuscode} is a short code you select to designate that campus. For example, your Downtown campus might have the code DT. In this case, you will create a setting UX-LoginPageShell-DT and set its value to be the name of the login shell you created for that campus.
Do this for each of your campuses. Then send people to the appropriate login page using URLs with the format https://yourchurchname.tpsdb.com/Logon?campus={campuscode}.
Choose a Sample Shell as a Starting Point
We have provided four sample shells that you can use to get started. Select a shell that has the features you will need. Then customize it as desired.
- Sample 1: Background Image and No Logo
You can read more about this sample login shell and how to customize it at Custom Login Shell - Sample 1. Below is how it looks (click on the image to expand for a closer look):

- Sample 2: Logo and No Background Image
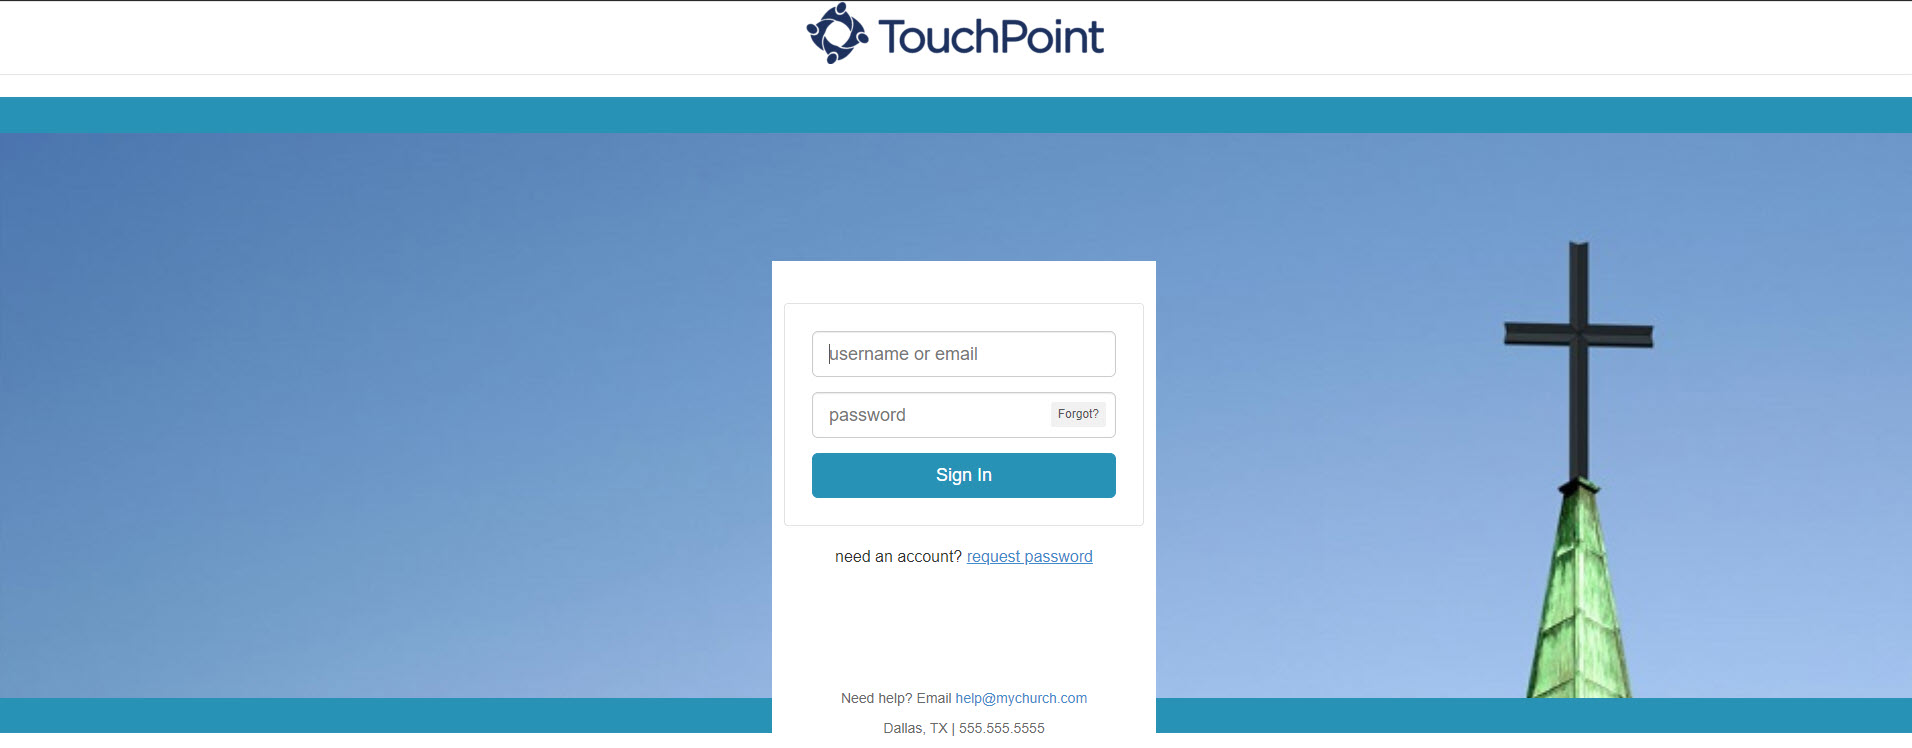
You can read more about this sample login shell and how to customize it at Custom Login Shell - Sample 2. Below is how it looks (click on the image to expand for a closer look):

- Sample 3: Logo and Background Image
You can read more about this sample login shell and how to customize it at Custom Login Shell - Sample 3. Below is how it looks (click on the image to expand for a closer look):

- Sample 4: Background Image with Logo Incorporated Into the Logon Form
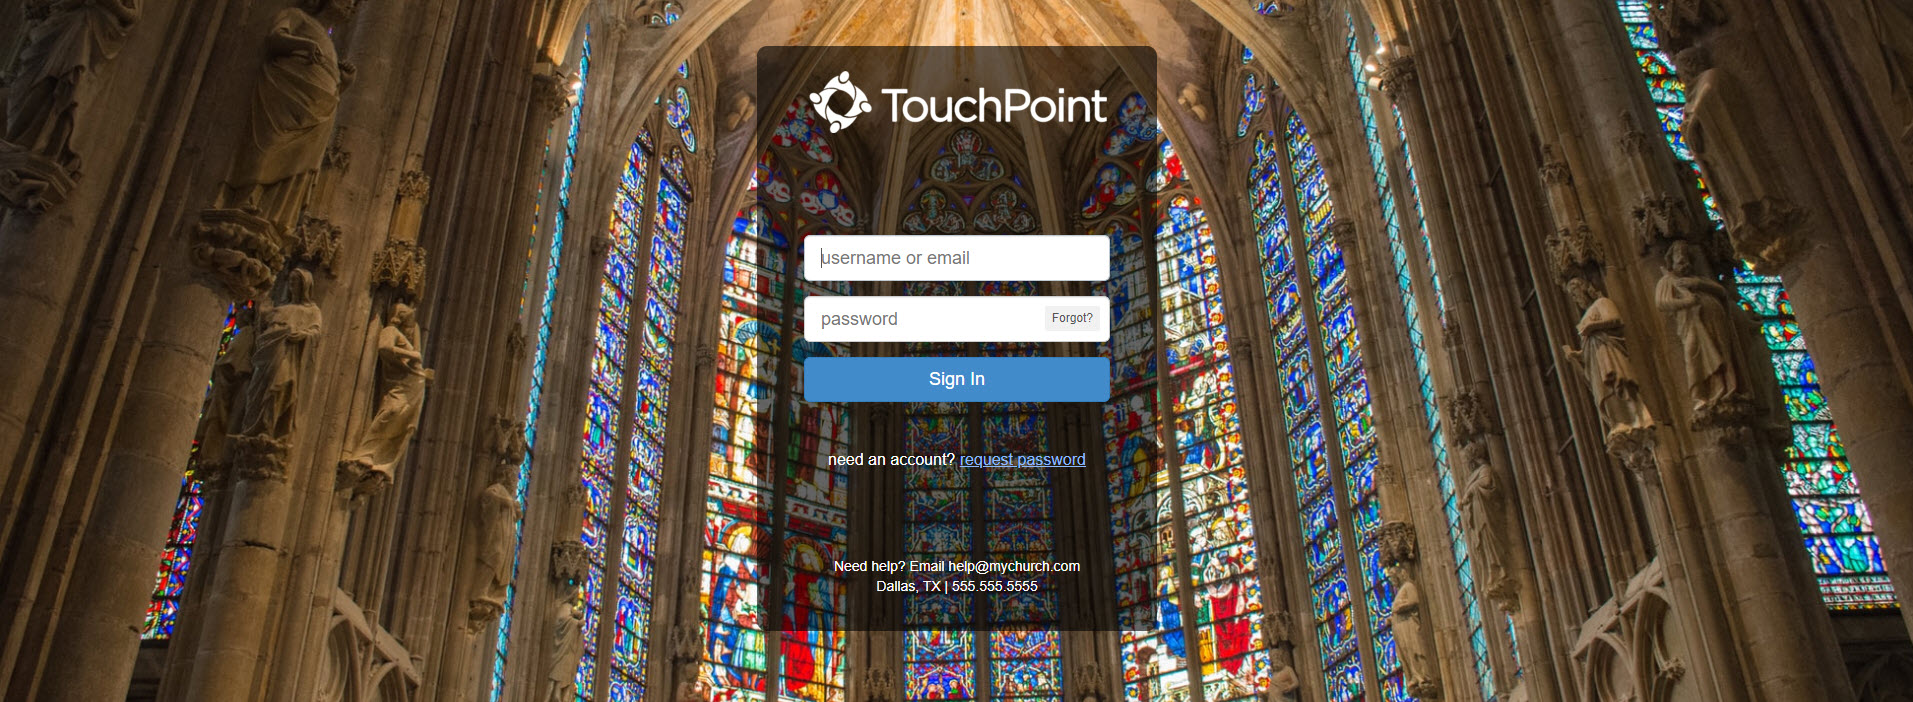
You can read more about this sample login shell and how to customize it at Custom Login Shell - Sample 4. Below is how it looks (click on the image to expand for a closer look):

- Sample 5: Background Image with Logo in Logon Form and Instructions to the right
You can read more about this sample login shell and how to customize it at Custom Login Shell - Sample 5. Below is how it looks (click on the image to expand for a closer look):abbr:

Latest Update |
2/23/2024 |
Update for new menu
