Zebra Printer Settings for Check-In (ZD410)
Before you use Check-In for the first time after installing the software, you will need to configure your printer settings for the size labels you are using. Depending on your computer, these screenshots may appear a bit different for you, but the settings should be basically the same.
- Step 1
Install the Zebra ZD410 printer on the Windows Check-In PC as instructed by the installation guide that came with your printer.
- Step 2
Find the Zebra ZD410 printer on the Windows Check-In PC by going to Start > Printers and Devices.
- Step 3
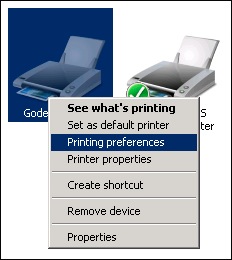
Right-click on the Zebra ZD410 printer and select Printing Preferences.
- Step 4
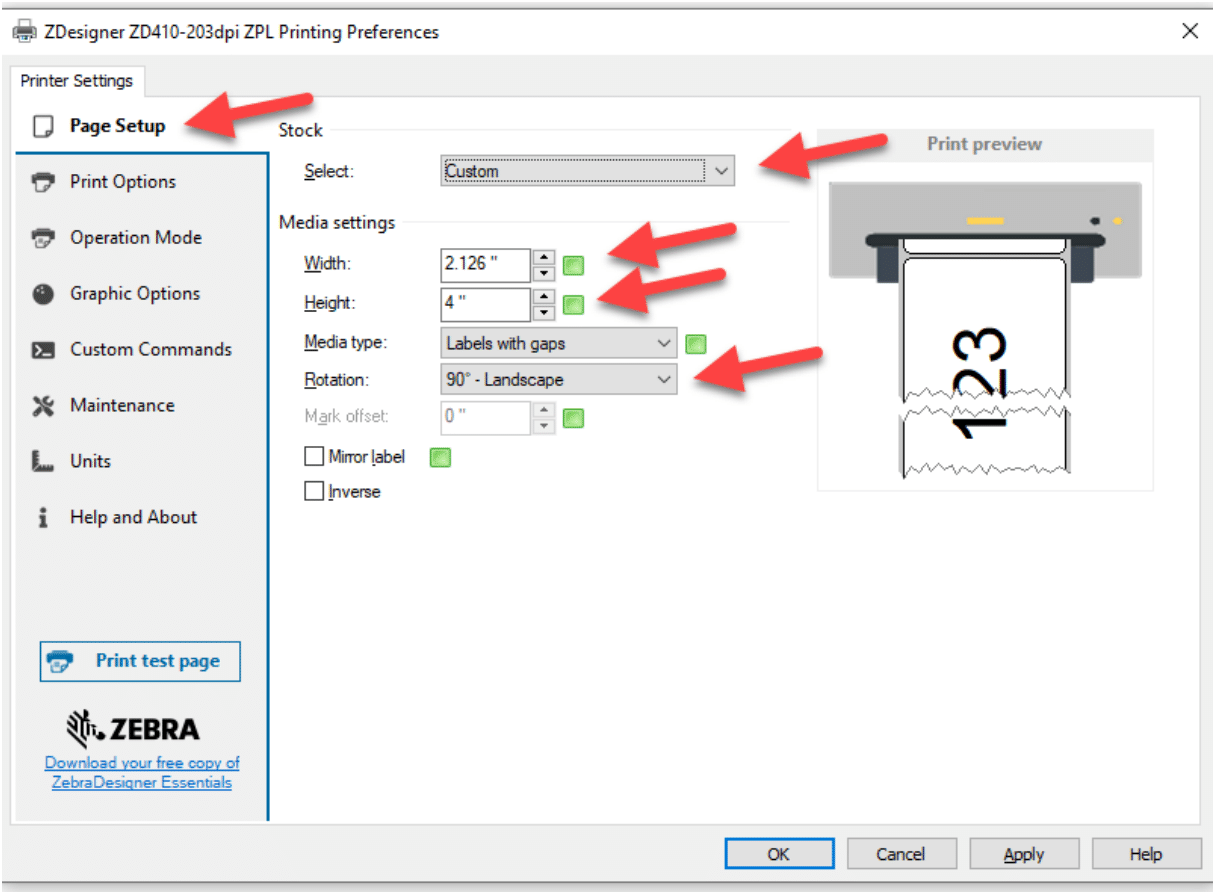
On the Page Setup tab, under Stock > Select, click Custom.
Assuming you are using 2 1/8” x 4” labels:
Under Stock > Media Settings, set the
Width = 2.126”
Height = 4.0”
Rotation = 90 - Landscape
- Step 5
Click Apply and OK on the Printing Preferences box.
- Step 6
Add a roll of labels and calibrate the printer by holding down the pause and cancel button simultaneously for 5 seconds. A couple of labels will print. Once it has stopped, let go. The printer is now calibrated.
See also
Latest Update |
7/11/2024 |
Add link to Troubleshooting article