Check-Out
There are three methods to check someone out of a class:
Using Security Codes generated on labels at the point of Check-In.
Scanning a QR code as the person is checked out of the classroom.
Class teachers can use the Classroom Dashboard.
The Leader must have the Checkout role for methods 2 and 3.
How To Set Up
Security Code - The standard method using the security code printed on the Check-In label. The Check-Out authorized person will present their security code to the Leader to match with the Child’s label.
See also
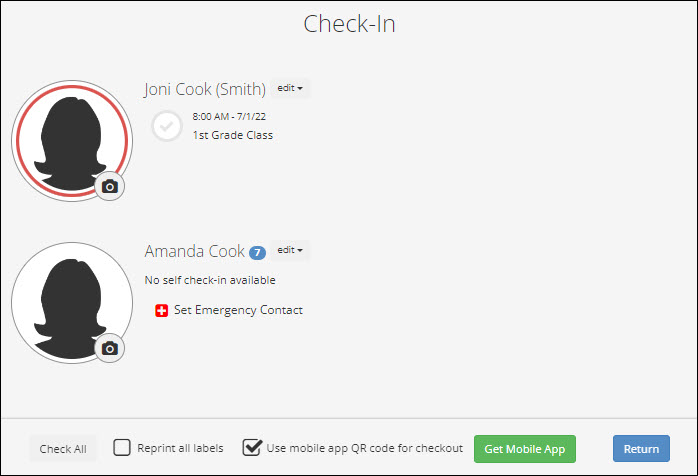
QR Code - Choose the correct QR Code label options at Admin > Involvements > Check-In > Labels. When the person is checking in, they can optionally check the box for Use mobile app QR code for checkout to use this method of Check-Out with their TouchPoint app (free or custom) rather than printing out a QR Code label. If they do not have the mobile app, they can click the Green Box for Get Mobile App to scan the QR code with their phone. The default app will be the TouchPoint Free app. Use the Admin > Advanced > Settings > Features > Mobile App setting named MobileDeepLinkHost to customize (ex. yourchurch.app.tpsdb.co).
Important
The ShowUseMobileAppQRCodeCheckbox administrative setting must be set to True for the Use mobile app QR code for checkout and Get Mobile App options to display during Check-In.
See also
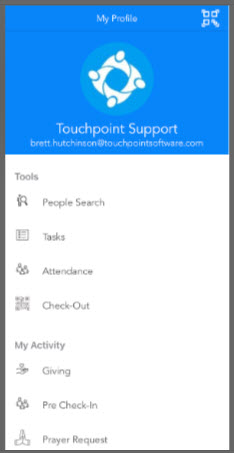
When the Leader has the Checkout role, they will be able to access a scanner through the Mobile App in their profile record by choosing Check-Out, under the Tools section. They will scan the QR code from the parent’s mobile phone, which will prompt the Leader to Select Person to Check-Out. Once the child’s name is chosen, a green box will indicate that they are checked out.
Note
If using the QR Code label option which includes the parent’s profile picture by default, adjustments to printer settings may be needed. This will vary by printer.
Note
If someone needs to reprint their QR Code Label, choose Print QR Code in the Admin Menu at Check-In for the Primary or Secondary Adult who is an Authorized Check-Out Person.
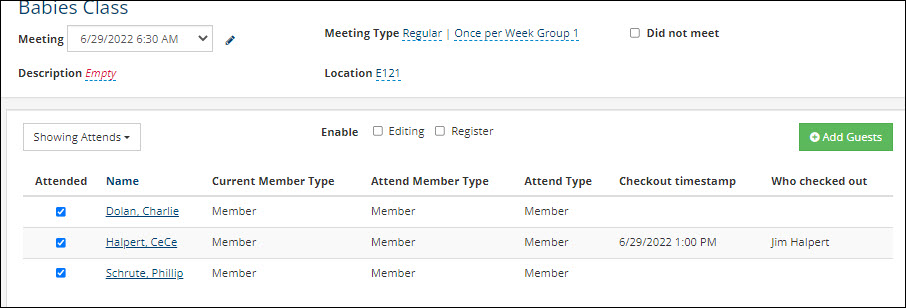
Classroom Dashboard - Those checked in for a class through Check-In can be checked out by a Leader through the Classroom Dashboard. When someone is checked out of a classroom, a Timestamp and Who Checked Out information will be added to the Meeting tab.
See also
Check-Out Settings
The following Settings are found in Admin > Advanced > Settings > Features > Check-In.
- AgeCutoffCheckout
The age of family members that are allowed to Check-Out younger siblings in their own family. The default age is 18. All Primary and Secondary Adults are allowed to Check-Out any child in the family.
- MoveClassroomAlertMessage
The default text message for alerting parents when moving a child from one classroom to another. This is used with the Move function in the Classroom Dashboard.
Latest Update |
7/3/2026 |
Formatted role names, fixed grammar and typos