Custom Check-In Labels
See also
In addition to Standard Labels that are ready to use, you may also choose to customize your Check-In Labels. An Admin can go to Admin > Involvements > Check In > Label Builder to access the label customization tool.
Note
This is a general overview of the label builder and only limited assistance will be available by TouchPoint Support. If you encounter issues with Custom labels, please use the Standard label until you become more familiar with the builder. Appropriate testing should be done with custom labels during non Check-In time periods.
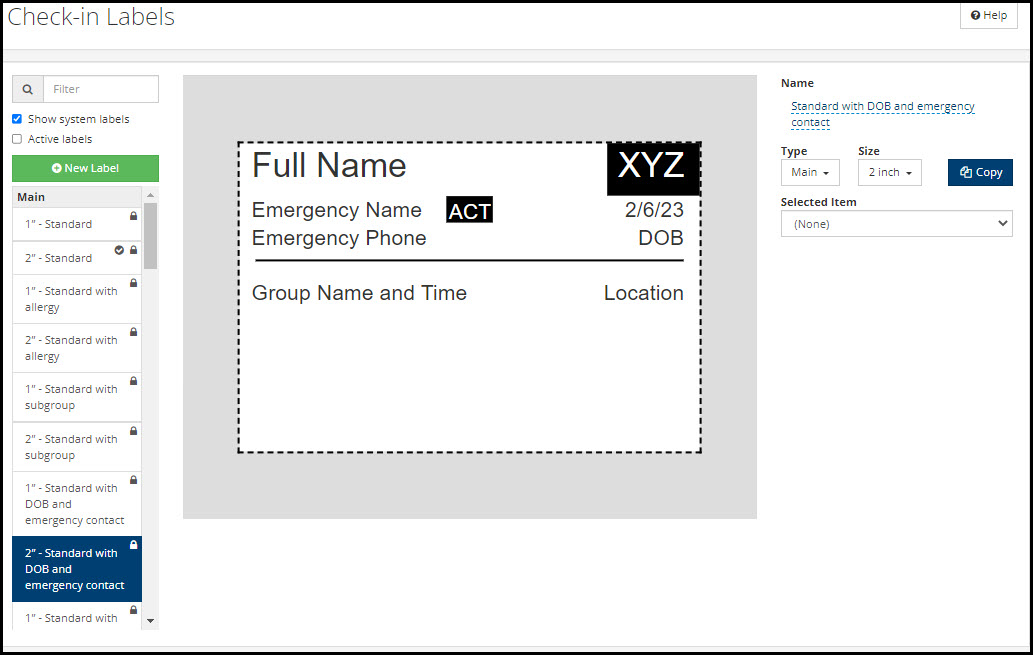
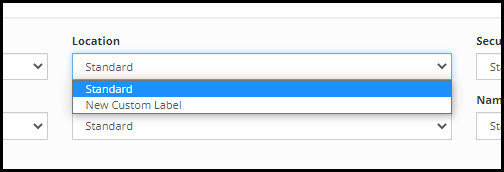
The Standard labels that are found on the Check-In > Labels page will be listed with “Standard” in the name under the corresponding categories:
Main
Location
Security
Guest
Extra
Name Tag
QR Code
Check the box for Show System Labels and for Active Labels to narrow the list. You can also search on any term in the list. For example, you can search for “Guest” to view the labels in the Guest category.
Steps to create a custom label
Click on the Standard label in the list that is closest to the label you will create, or click +New Label. (We encourage you to copy existing labels first to become familiar with the builder)
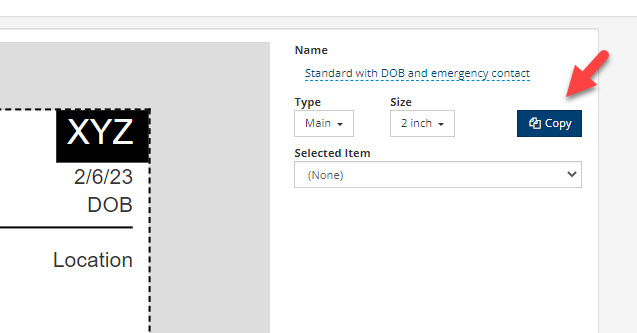
If using an existing label as a starting point, click the Copy button.
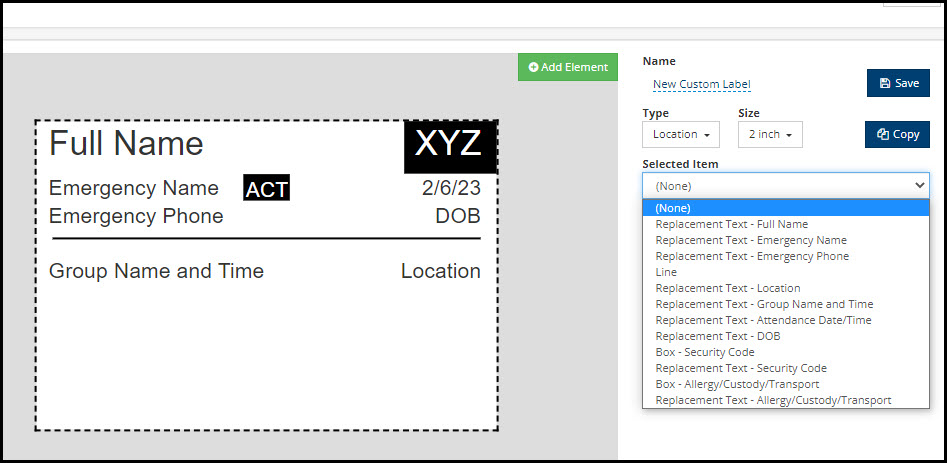
Rename and Save your new label. You can change which category it will reside under as well as size, if needed.
Each element in the label will be included in the Selected Item dropdown. Choose an element to update.
Each element will have editing options:
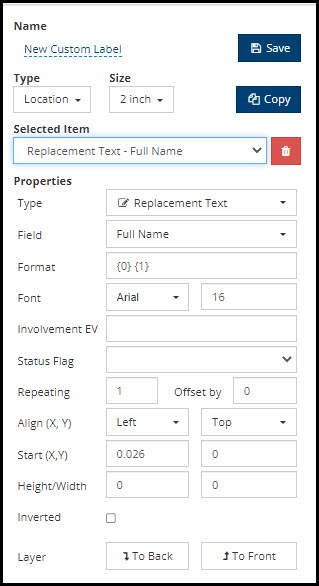
Editing options include, but not limited to:
Type: Box, Graphic (requires a height and width to be populated), Line, Replacement Text, Static Text
Involvement EV: Text Field. Selected element will print on label only if the involvement that person is checking into contains the Extra Value listed here. Extra Value name is case sensitive.
Status Flag: Prepopulated dropdown. Only shows Status Flag search names. Element will print on label only if the person has the selected Status Flag.
Alignment and Start (X,Y): Start (in inches) is relative to Alignment location
Inverted: Black to White
Layer
Save often to avoid loss of work. Save when finished.
If this will be the label you’ll use, then proceed to Admin > Involvements > Check In > Labels to choose the new Custom label from the dropdown in the appropriate category.
Tip
You can also use custom labels for specific Check-In Profiles. See the Labels Tab section of the Check-In Profiles help article.
See also
Helpful formatting tips for specific elements
Replacement Codes:
Parents - In the Format field, enter
{0} {1}for the Head of Household’s First Name and Last name. Use{2} {3}for the Spouse’s First Name and Last Name. Make sure to enter a space between each, or the first and last name will be all one word. Suggestion: enter{0} and {3}if you want the first names only to print, such as John and Judy. You can also use the Parents element twice, having the HOH name on one line and the Spouse on the next line.Parents/Adult - In the format field, enter
{0}for HOH profile picture,{1}for HOH QR code (to scan for checkout),{2}for Spouse profile picture, and{3}for Spouse QR code. Any combination of these can be used. You will need to add a height and width parameter.Full Name - In the Format field, enter
{0}to print the person’s full name (First Name Last Name). For more control, use{0}and{1}as separate replacement codes for First Name and Last Name, such as{0} {1}or{1}, {0}.
Latest Update |
07/11/2025 |
Added formatting help section