GoDEX Printer Settings for Check-In (DT4, DT4x, DT4xW)
Before you use Check-In for the first time after installing the software, you will need to configure your printer settings for the size labels you are using. Depending on your computer, these screenshots may appear a bit different for you, but the settings should be basically the same.
See also
- Step 1
Find the GoDEX printer on the Check-In PC. Go to Start > Printers and Devices.
- Step 2
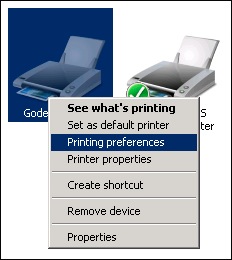
Right-click on the GoDEX printer and select Printing Preferences.
- Step 3
On the Page Setup tab, click New.
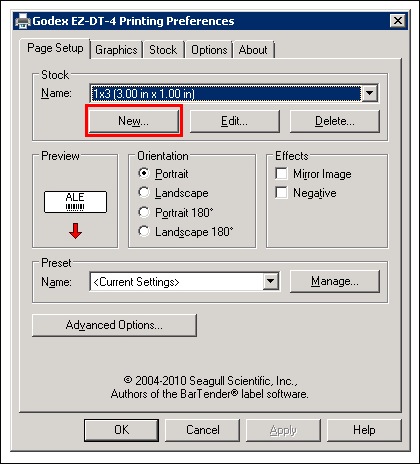
This will open the dialog box for you to edit the Stock for the new label. Give it a name, such as 2-inch Check-In Labels. Then enter the label size for the appropriate labels you are using.
For 2-inch labels, the Width is 3.00 in and the Height is 2.00 in. The Exposed Liner Width should remain 0.05 in in for Left and Right.
For 1-inch labels, the Width is 3.00 in and the Height is 1.00 in. The Exposed Liner Width should remain 0.05 in in for Left and Right.

- Step 4
Click OK when you are finished.
- Step 5
Click on the Stock tab.
Uncheck the box for Use Current Printer Settings in the bottom section called Position Adjustments.
Change the Stop Position to 0.70 in.
Note
If your printer has a cutter installed, set the Stop Position to 1.06 in. Also, set the Post-Print Action to Cut in the Media Handling section. Set the Occurrence to After job.

- Step 6
Click OK when you are finished.
- Step 7
Click Apply and OK on the Printing Preferences box.
See also
Latest Update |
7/3/2026 |
Minor formatting cleanup