Using Check-In
To run a Check-In kiosk, in a web browser enter your database URL followed by /checkin.
For example https://mychurch.tpsdb.com/checkin. The Check-in login screen will be displayed.
Tip
Looking for a faster way to configure multiple kiosks? You can use URL-based configuration to automatically log in and configure check-in stations without manually entering credentials each time.
See also
Check-In URL Configuration for automatic kiosk configuration using URLs
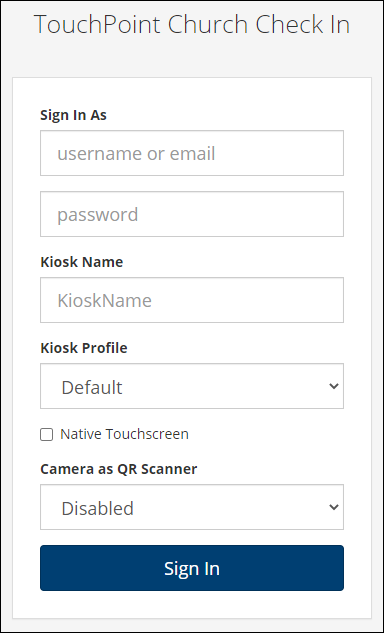
- Sign In As
The credentials you use to sign in must be for an account that has the Checkin role. This is the only role needed to use the Check-In system. We recommend you create a people record to use exclusively for logging into Check-In.
Note
Access role is not required in addition to the Checkin role. Consider creating separate Child Check-In, Student Check-In and Adult Check-In people records in one family profile. This way a volunteer can log into the Child Check-In kiosk but not necessarily other kiosks.
- Kiosk Name
Enter the unique name for this kiosk. The print server that will print labels for this kiosk must have this exact name (case sensitive) entered in its list of kiosks for which it will print.
See also
- Kiosk Profile
Select the profile to use.
See also
- Native Touchscreen
Check this box if you are using a touchscreen device, such as iPads, Android tablets, Microsoft Surface Pros, Dell Latitude tablets, or Windows PCs with separate touchscreen monitors. This will disable the touchscreen keyboard on the main Check-In page so that it does not pop up on top of the TouchPoint Check-In keypad.
Note
If you are using a Windows PC with a separate touchscreen monitor attached, go to Windows Settings > Devices > Typing and make sure the option named Show the touch keyboard when not in tablet mode and there’s no keyboard attached under the Touch keyboard section is set to On.
- Camera as QR Scanner
This allows you to use a webcam to scan the QR code for Pre Check-In rather than using an external QR code scanner. If you are using a webcam, set this dropdown to Front or Rear, depending on the webcam you want to use.
Tip
If you are using an iPad or Android tablet, we recommend running TouchPoint Check-In as a Web App so that it shows up as an icon on your home screen. To do that, follow these steps:
Open your web browser (Chrome or Safari) and go to
https://mychurch.tpsdb.com/checkinwheremychurchis the name of your database.If you are using Chrome, tap the Menu (3 vertical dots) at the top-right of the browser and select Add to Home Screen. If you are using Safari, tap the Share icon and select Add to Home Screen.
In the Add to Home Screen box that pops up, tap the Add option. Depending on your phone, you may need to tap an additional Add to Home Screen button to complete the process.
You should now see a TouchPoint Check-In shortcut on your home screen.
Running Check-In in Kiosk Mode
If you are using a PC, you can optionally run Check-In in the browser’s kiosk mode. This presents the Check-In window as the only application and hides the OS task bar and the browser’s tabs, menu bar and address bar. Below are the steps to set up kiosk mode for the Chrome browser. If you are using a different browser, you can do an Internet search for kiosk mode instructions for that browser.
Warning
Do not use Kiosk Mode if you have the Check-In profile set to the Continuous Admin or Scanning mode. Those modes do not display the numeric keypad, so you cannot use the logout code to exit Check-In.
Create a shortcut for Chrome on the desktop and rename it to make its purpose clear.
Right-click on the shortcut, select Properties and click on the Shortcut tab.
In the Target field, add the following after what is already there:
--kiosk "https://mychurch.tpsdb.com/checkin"replacingmychurchwith your own database name.
Now when you double-click the shortcut, a browser window in kiosk mode will open for Check-In.
If you have a keyboard attached to the PC, you can exit the kiosk-mode Chrome window with the key combination Alt-F4. If there is no keyboard (touchscreen only), use the follow process to exit:
Swipe from the right edge of the screen to the center.
Tap Settings.
Hold the Chrome icon on the Taskbar and select
X Close window.
Member Check-In
Checking someone in begins by finding their family in the system. Enter the phone number of a family member. It can be any number on a family member’s record – home phone, work phone, or cell phone. You can enter the full ten-digit phone number, the seven-digit prefix + suffix, just the final four digits, or any portion of the number.

Note
You can enable the LimitNumberSearch setting to require at least 7 digits of a phone number to find a person’s record.
See also
Tip
You can change or remove the default Enter your phone number text above the keypad by modifying the Check-In Text administrative setting (Admin > Advanced > Settings > Features > Check-In). This can be especially useful if you are using a background image that conflicts with the location of that text.
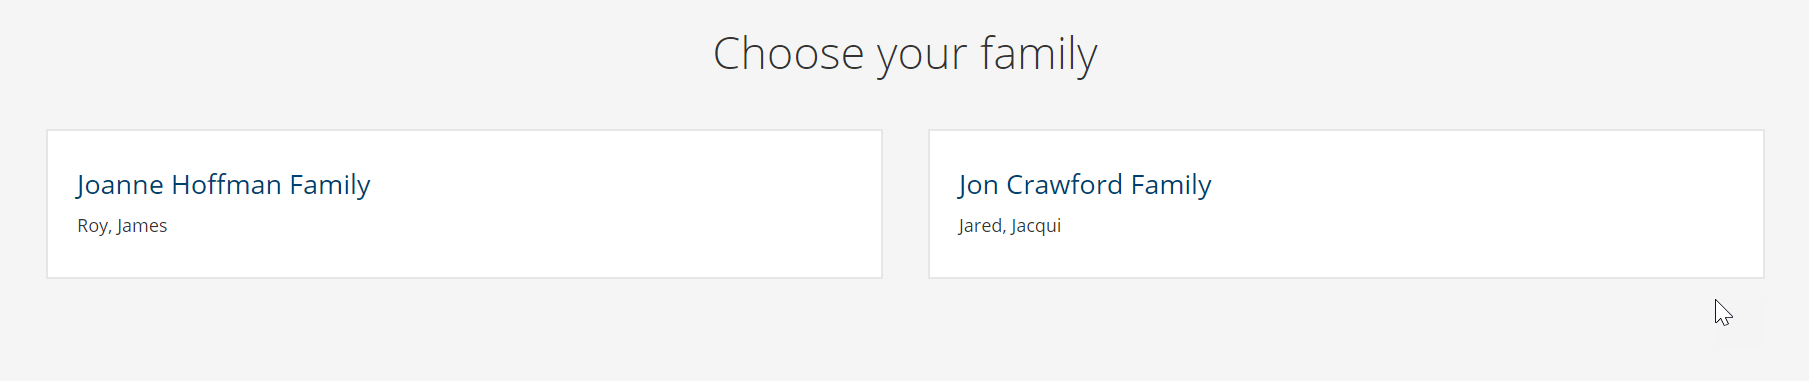
If the number you enter matches multiple families, they will be displayed with first names so that you can select the desired family. To make your selection, click on the family name.
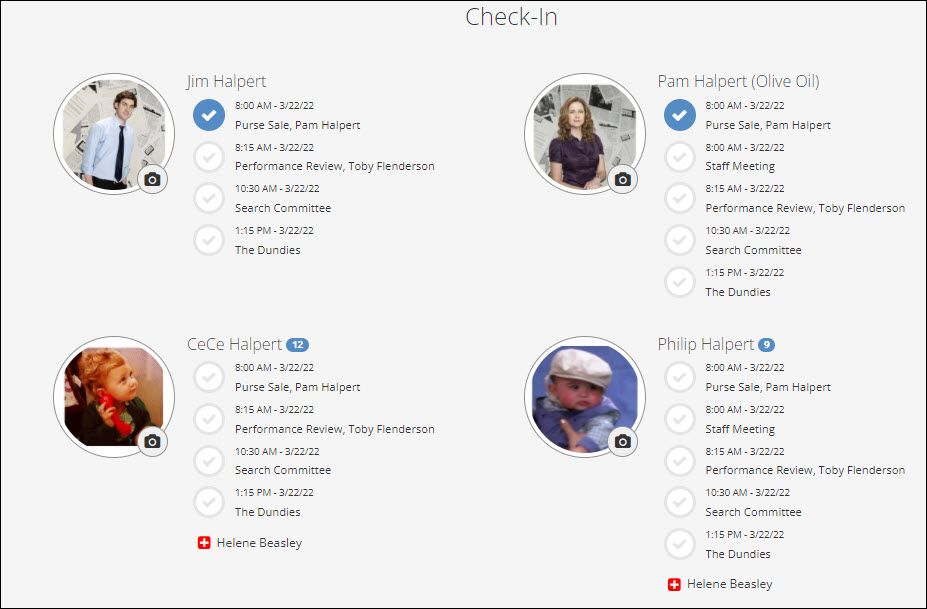
Available classes will be displayed for the family members. Classes that have reached capacity
will be labeled as Full and those that have been closed will be labeled as Closed. You
will not be able to check into these classes. To check someone in, click on the circle
to the left of the target class (or involvement name). The circle will be filled with green and
display a white check mark. When you selected all the desired classes to check family members into,
click the Check In button in the lower, right corner.
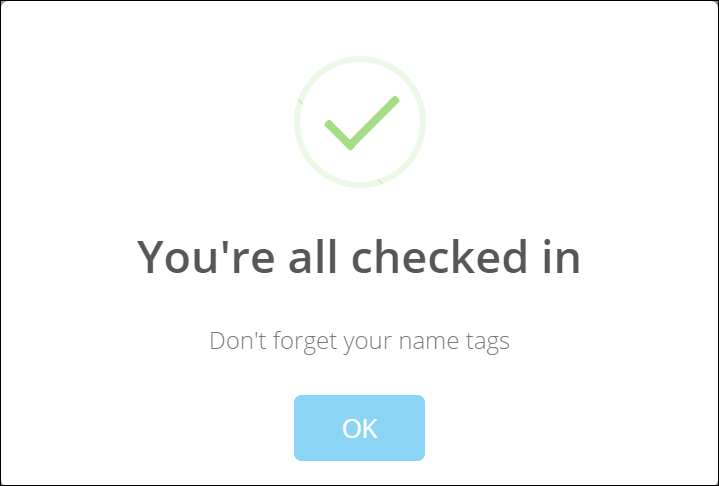
When you click the Check In button, family members are marked in attendance in the selected classes and the print job for their labels is sent to the print server. A confirmation message is displayed momentarily. (How long this message displays, or whether it displays at all, is determined by the Show Check-In Confirmation setting on the profile in use.)
Additional updates can be made at the time of Check-In. A Profile Picture can be added or updated by clicking on the Camera Icon next to the person’s current picture or placeholder image.
Update the child’s Emergency Contact by clicking on the Red Plus Sign below their list of classes. Check the box for Update for All to add the same Emergency Contact person for each child.
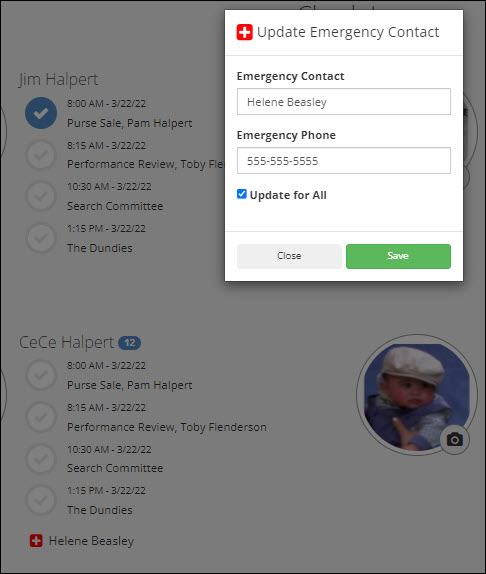
Note
Updating the profile picture and emergency contact will also update their person record. The next time they check in, this information will be populated. To turn off ability to update these at Check-In, uncheck the boxes under Administration > Check-In > Profiles in the Profile under the Security tab.
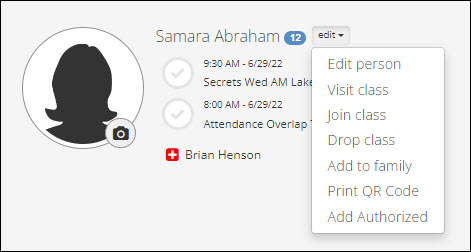
Update who is allowed to check out a child through the Admin menu. Click Add Authorized. When updated, the information will be immediately available for Leaders through the Classroom Dashboard and will update the child’s person record.
See also
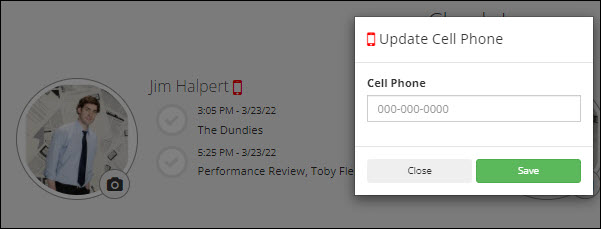
Add a Parent’s Cell Phone to their profile by clicking on the Cell Phone icon. The icon will only appear if there’s no Cell Phone on the Primary Adult or Secondary Adult’s record. Information will then update to their people record. The Cell Phone on the parent’s record will also appear in the Classroom Dashboard to be used when a leader texts a parent. The parent does not need to be opted into a texting group or even be marked to Allow SMS on their profile to be able to receive texts through the Classroom Dashboard.
If you are utilizing Status Flags and have opted into making some of your Badges also show the Picture Border, the person’s profile picture will be surrounded by a color coded circle. This also requires a True setting for CheckinPicBorder found at Admin > Advanced > Settings > Features > Status Flags
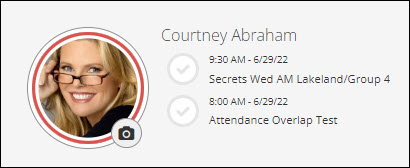
See also
Guest Check-In
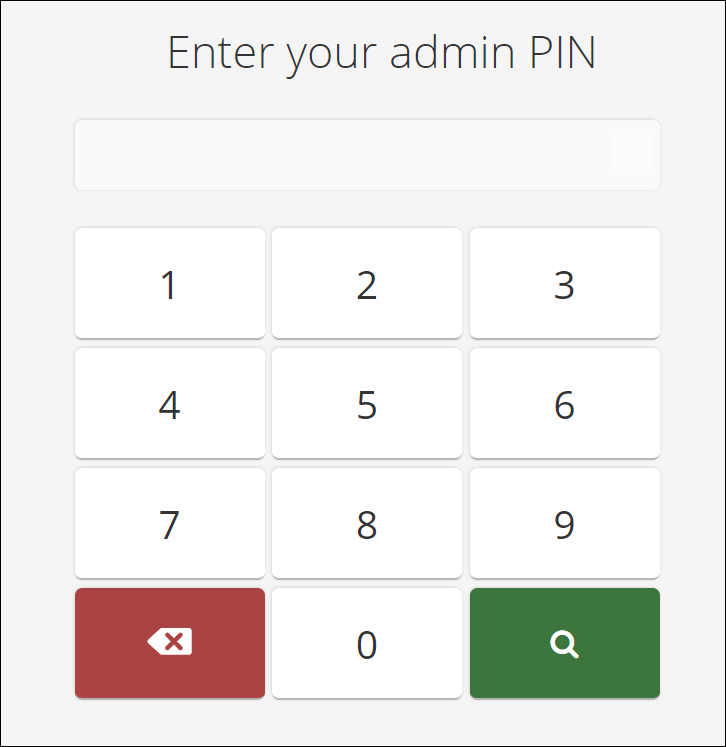
If someone is checking in, but the desired class is not listed as an available class by their name (because they are not enrolled in the class), they can visit the class as a guest. For this, a staff member or volunteer will need to go into admin mode. To do so, click on the page title – “Check-In” – and enter the admin PIN (configured in the Admin Code setting on the Web Check-In profile in use).
Note
There may be reasons why a class is not listed as available for Check-In other than that the person is not enrolled. The Involvement may not be set to Allow Check-In or have a missing or inaccurate schedule.
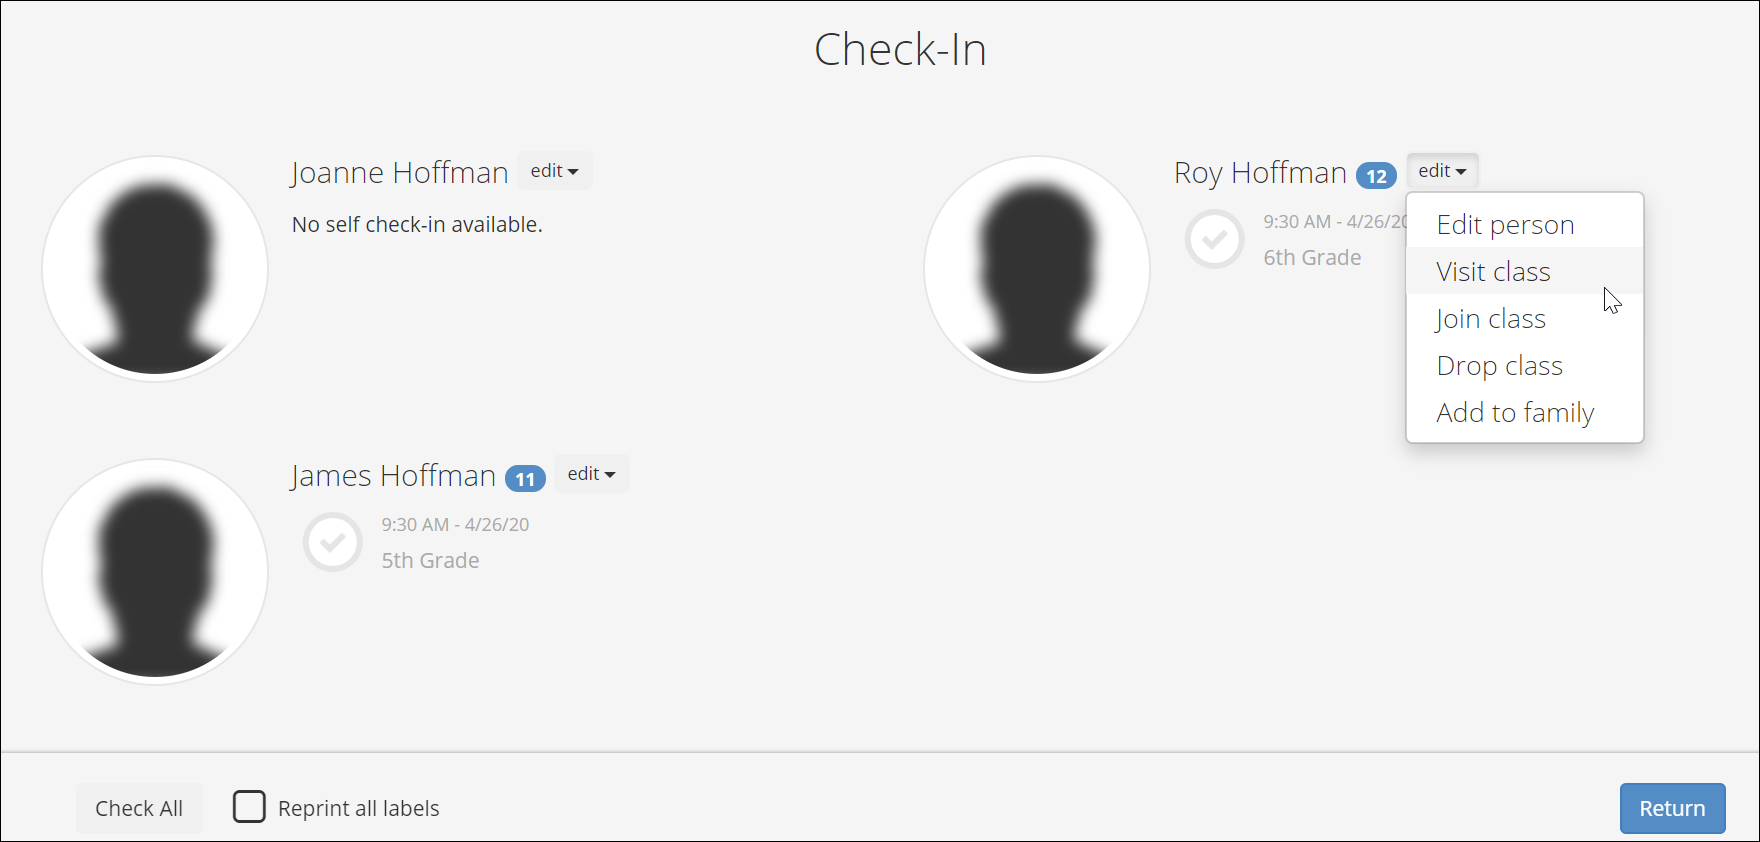
Having entered the admin PIN, you are now in admin mode and returned to the page you were viewing before. Now, however, there is an edit menu to the right of each family member’s name. To check in a person as a guest of a class, select Visit class from the edit menu and select the class you wish to check the person into.
Classes that are offered will be based on the following criteria:
Each Involvement has a Setting to either use the Grade or the Birthday of the person checking in (Guest) to determine which classes are offered.
If the Guest doesn’t have a Grade or Birthday populated either on their existing profile or added at Check-In, all classes that are available for Check-In will be displayed.
If the Guest does have a Grade and/or Birthday populated, classes that are set to use Grade or Birthday will only display if the Guest matches that criteria.
To override the Grade or Birthday setting, the kiosk worker can click the “Show All” button at the bottom to display hidden classes.
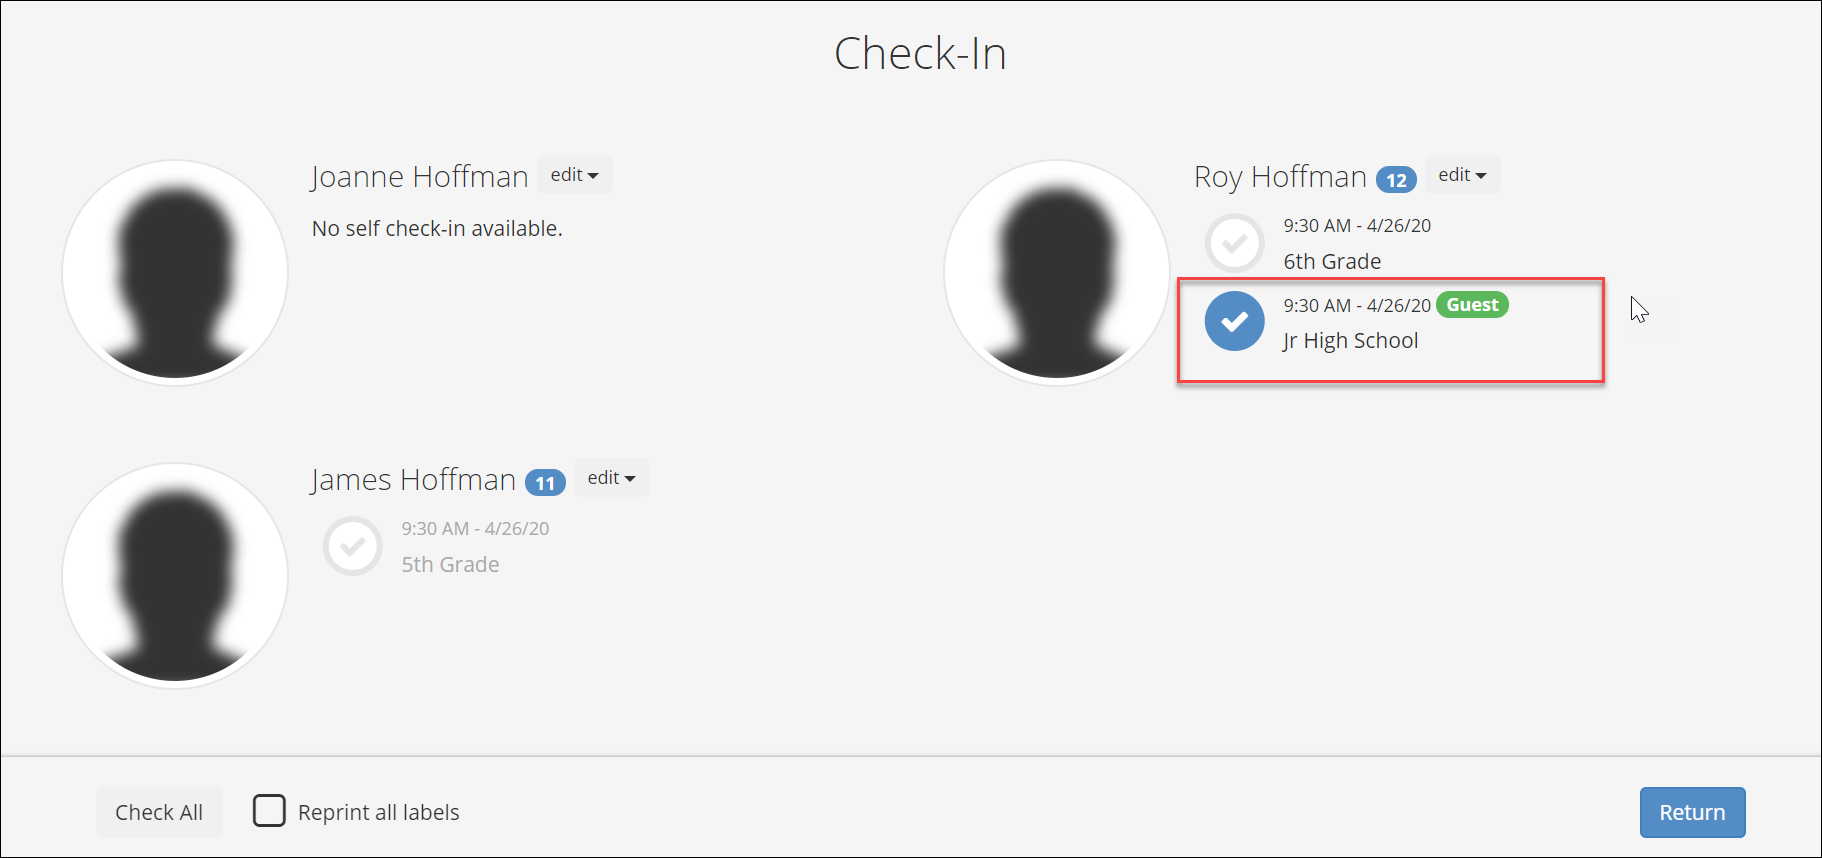
After selecting the class, it will be displayed by the name of the person you checked in, with a Guest label beside the class. When you have completed checking in all family members, click the Check-In button.
See also
Add a Record
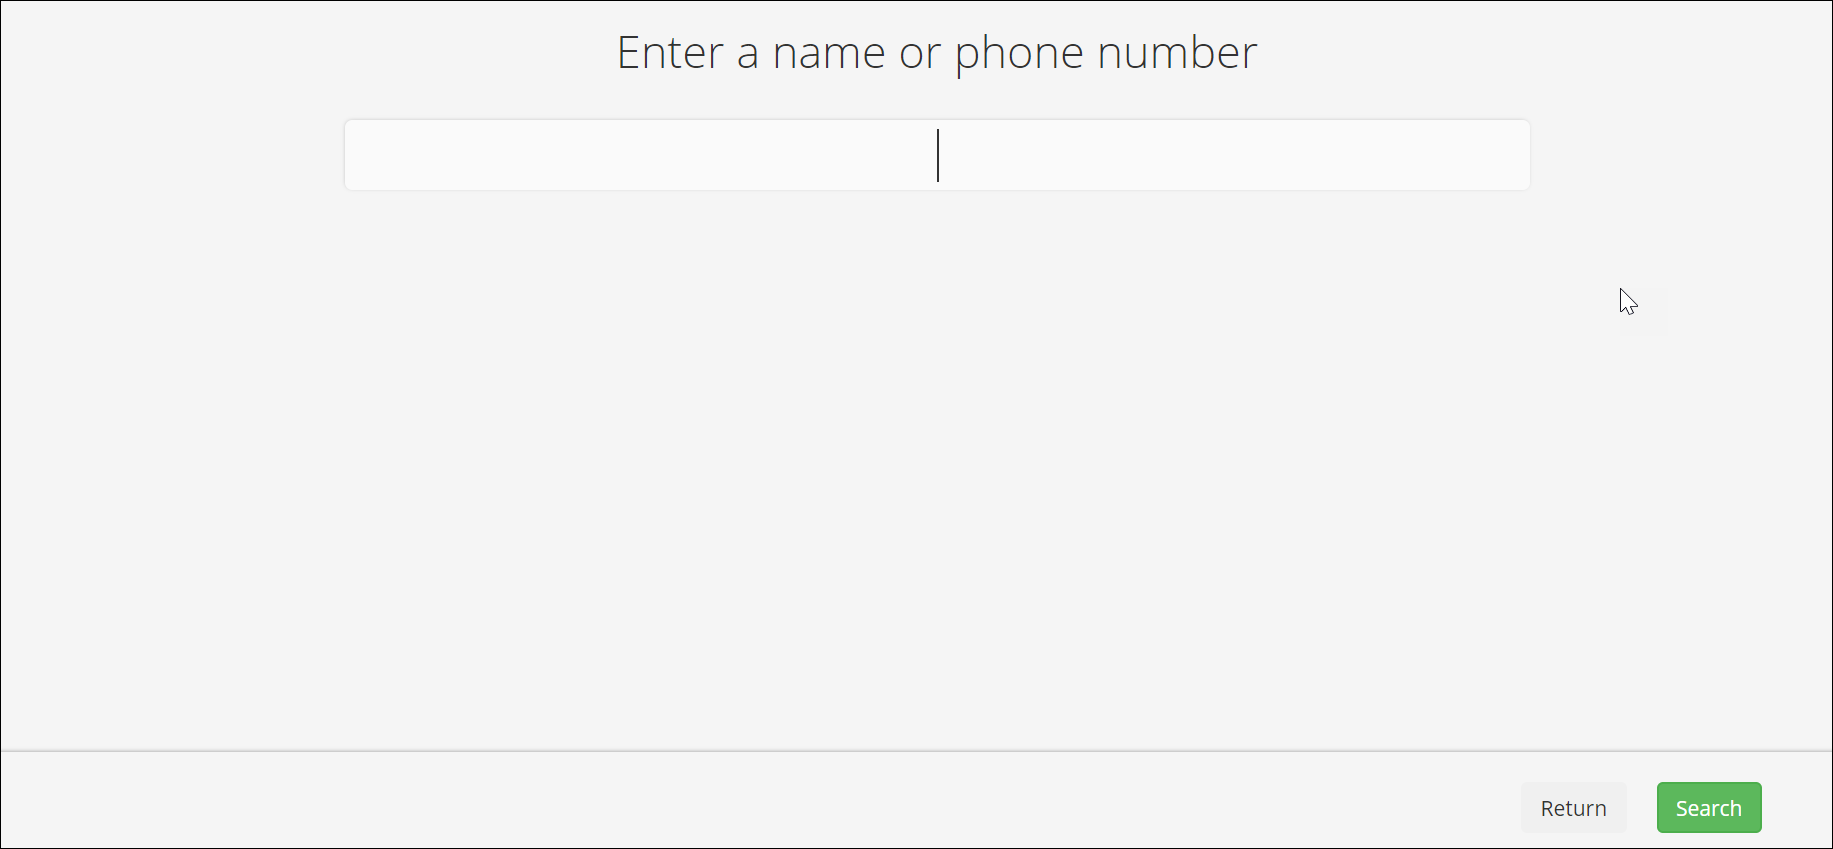
There will be times when a family cannot be found by entering a phone number. Perhaps they have no phone numbers on any family member’s record or the phone numbers have been entered incorrectly. In this case, you will get a message window informing you “No families found, please try again”. If all attempts are unsuccessful, by entering admin mode you have the option of searching by name. Click on the home page title – “Enter your phone number” – and enter the admin PIN (configured in the Admin Code setting on the profile in use). You are now given a prompt to enter a name or phone number.
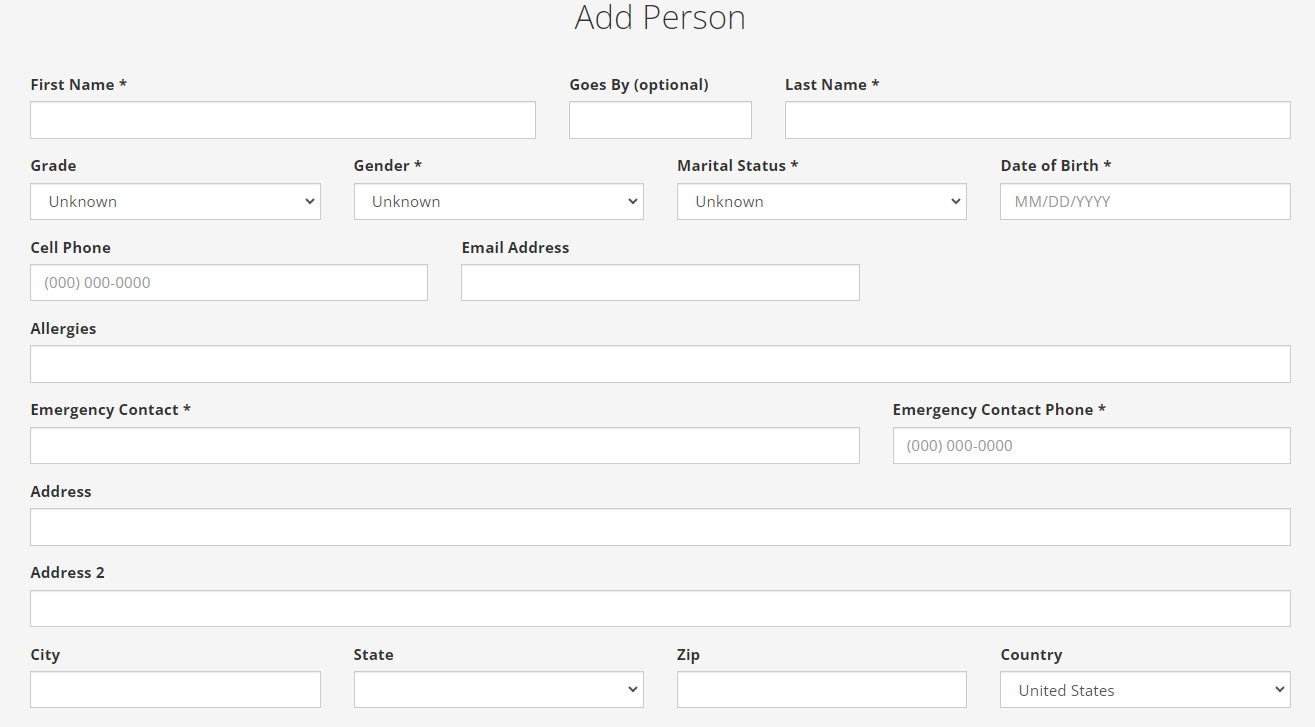
If the name you enter is not found, you will be given the option of adding a new record to the database. Click on Add Person to add the new record.

Enter all the information available for the new record and Save your results.
See also
Enable Limit Editing/Hide Fields for more information on Adding and Editing people records.
After saving the record, available classes will be displayed so that you can choose a class for the new person to visit as a guest. The initial list of classes will include those with matches on the Birthday Range or Grade and classes that lack a Birthday Range or Grade. If the desired class is not displayed (be sure to scroll through the entire list), click the Show All to see all classes available for Check-In that day. See section on Guest Check-In above for more information.
Upon returning to the Check-In page with the new person displayed, the edit menu is available if other actions are needed (such as making further edits to the person record, adding to an existing family, or joining/enrolling the new person in a class).
Add a family
To add a whole family through check in, first Enable Add Family in the check-in profile you are using and adjust settings on the Add Family tab. Log out of check-in and log back in to reflect any changes to the check-in profiles.
Note
Global preferences for adding records is set on the Limit Editing/Hide Fields screen under Admin > Advanced > Limit Editing/Hide Fields. Settings on Add Family tab can further limit options when adding a family.
Instead of choosing Add Person (see Add a Record section above), choose Add Family. Enter the family’s information. For additional children, click the Add Child button at the bottom. When finished, click Next at the bottom.
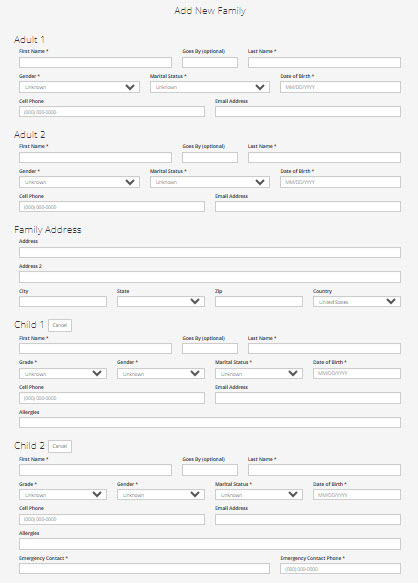
Choose whether the family members will Visit or Join a Class. These options can be hidden in the check-in profile. Then click Complete Check-In.

Note
Clicking Complete Check-In will add the family to the database even if they aren’t attending a class. Entry Point on each new profile will be “Check-In”. View the Personal tab on the new profile to see the Date, Time and User that added the profile.
To encourage adoption of your church’s custom app, you can enter your app deeplink, if you have one, in the setting called MobileDeepLink Host. This is found at Admin > Advanced > Settings > Features > Mobile App. When checking in, the person can click Get Mobile App and scan the QR code. If you don’t have a deep link, the default will be TouchPoint’s free app. This can also be used for Check-Out.
See also
Log Out of Check-In
Check-In is designed to automatically roll over each day, so during normal operation you can leave it running and there is no need to log out. If you make any changes to your Check-In Profiles or if we release an update that adds features to Check-In Profiles, you will be required to log out of the kiosks and log back in to sync those changes. Failure to do this will result in unexpected behavior for that kiosk since it is unaware of the new Check-In Profile settings.
Note
Whenever we release an update to Check-In that requires you to log out and back in to a kiosk, we will communicate it via the TouchPoint Blog. This will also show up in the TouchPoint News widget on the home page. Rebooting the device will not log out. You must perform the steps below.
To log out of Check-In, follow these steps:
Standard Mode
Go to the main Check-In screen where you can enter a phone number
Enter the Logout Code specified for the Check-In Profile you are using
Click the green Search button (represented by a magnifying glass) or press
ENTERon your keyboard
Continuous Admin & Scanning Mode
Click in the address bar of the browser so you can edit the URL
Add
/logoutto the end of the URL and pressENTER.Example:
https://database.tpsdb.com/checkin/logoutTip
If you are unable to access the address bar of the browser, try pressing CTRL+N on your keyboard to open a new window. You can then type in the Check-In URL and add
/logoutto the end.
Latest Update |
7/11/2024 |
Added link to Troubleshooting article